The forecast is showing clear skies, so you pack up your gear and head out for a Milky Way shoot. You know it’s going to be productive because you’ve applied the 500 rule…that is, you’ve selected a maximum shutter time of 500 divided by the focal length of your lens to prevent star trailing. You dial in your exposure using ISO and things are looking great on the back of the camera. The next morning you prepare to view the stunning full size images in Lightroom and…wait, what? What happened to my round stars?
I hope this has never happened to you, but if it has, trust me — I’ve been there. I didn’t think about it a lot at the time; I simply made some adjustments the following evening.
Recently, however, I stumbled across the 500 rule again and decided to see if I could figure out why it didn’t work for me.
The Ruling on the Field
Applying the rule is simple enough — divide 500 by the (35mm equivalent) focal length of your lens. My camera is full frame, and thus already 35mm equivalent, so it is simply 500 divided by whatever is stamped on the side of the lens. If your camera is not full frame, then you will need to multiply the lens’ focal length by the camera crop factor to get the 35mm equivalent focal length before doing the divide. For a crop Nikon, that’s 1.5x; crop Canon, 1.6x; micro 4/3, 2x. Those are the most popular sensors at the time of this writing; if yours was not listed a quick Google search should turn up the crop factor.
Alright, then, just divide. I’m pairing my full frame Nikon with a Rokinon 14mm f/2.8. Survey says…500 / 14 = 35.71. You probably won’t find that in your camera’s menu, so let’s just call it 35.
I took the rule to the field, and I ended up with stars that showed more trailing than I was comfortable with. I cut about in half to 15 seconds on my second attempt and found the results much more pleasing.
That was nothing more than wild guessing on my part though. It was time for something more scientific…
Science! (Not!)
While I don’t have any real science for you, I do have a series of 15 test shots. The exposure time is varied from five seconds up to one minute and the shots were taken on the same evening in as quick succession as possible.
For the exposures up to 30 seconds, the camera’s built in exposure stops were used. After 30 seconds, an intervalometer was used, with the exposure time increasing by 5 second increments.
The camera was on a tripod and the shutter released remotely in all cases to eliminate camera shake as a factor in the test.
Here are the exposures, corrected to the same exposure value in post, with an inset 1:1(ish) crop. The crop comes from slightly left of center (actually just off the bottom right corner of the inset); I chose that area because of the two bright stars that would be easy to track from exposure to exposure, and also because this lens develops signifcant coma the further you stray from the center.
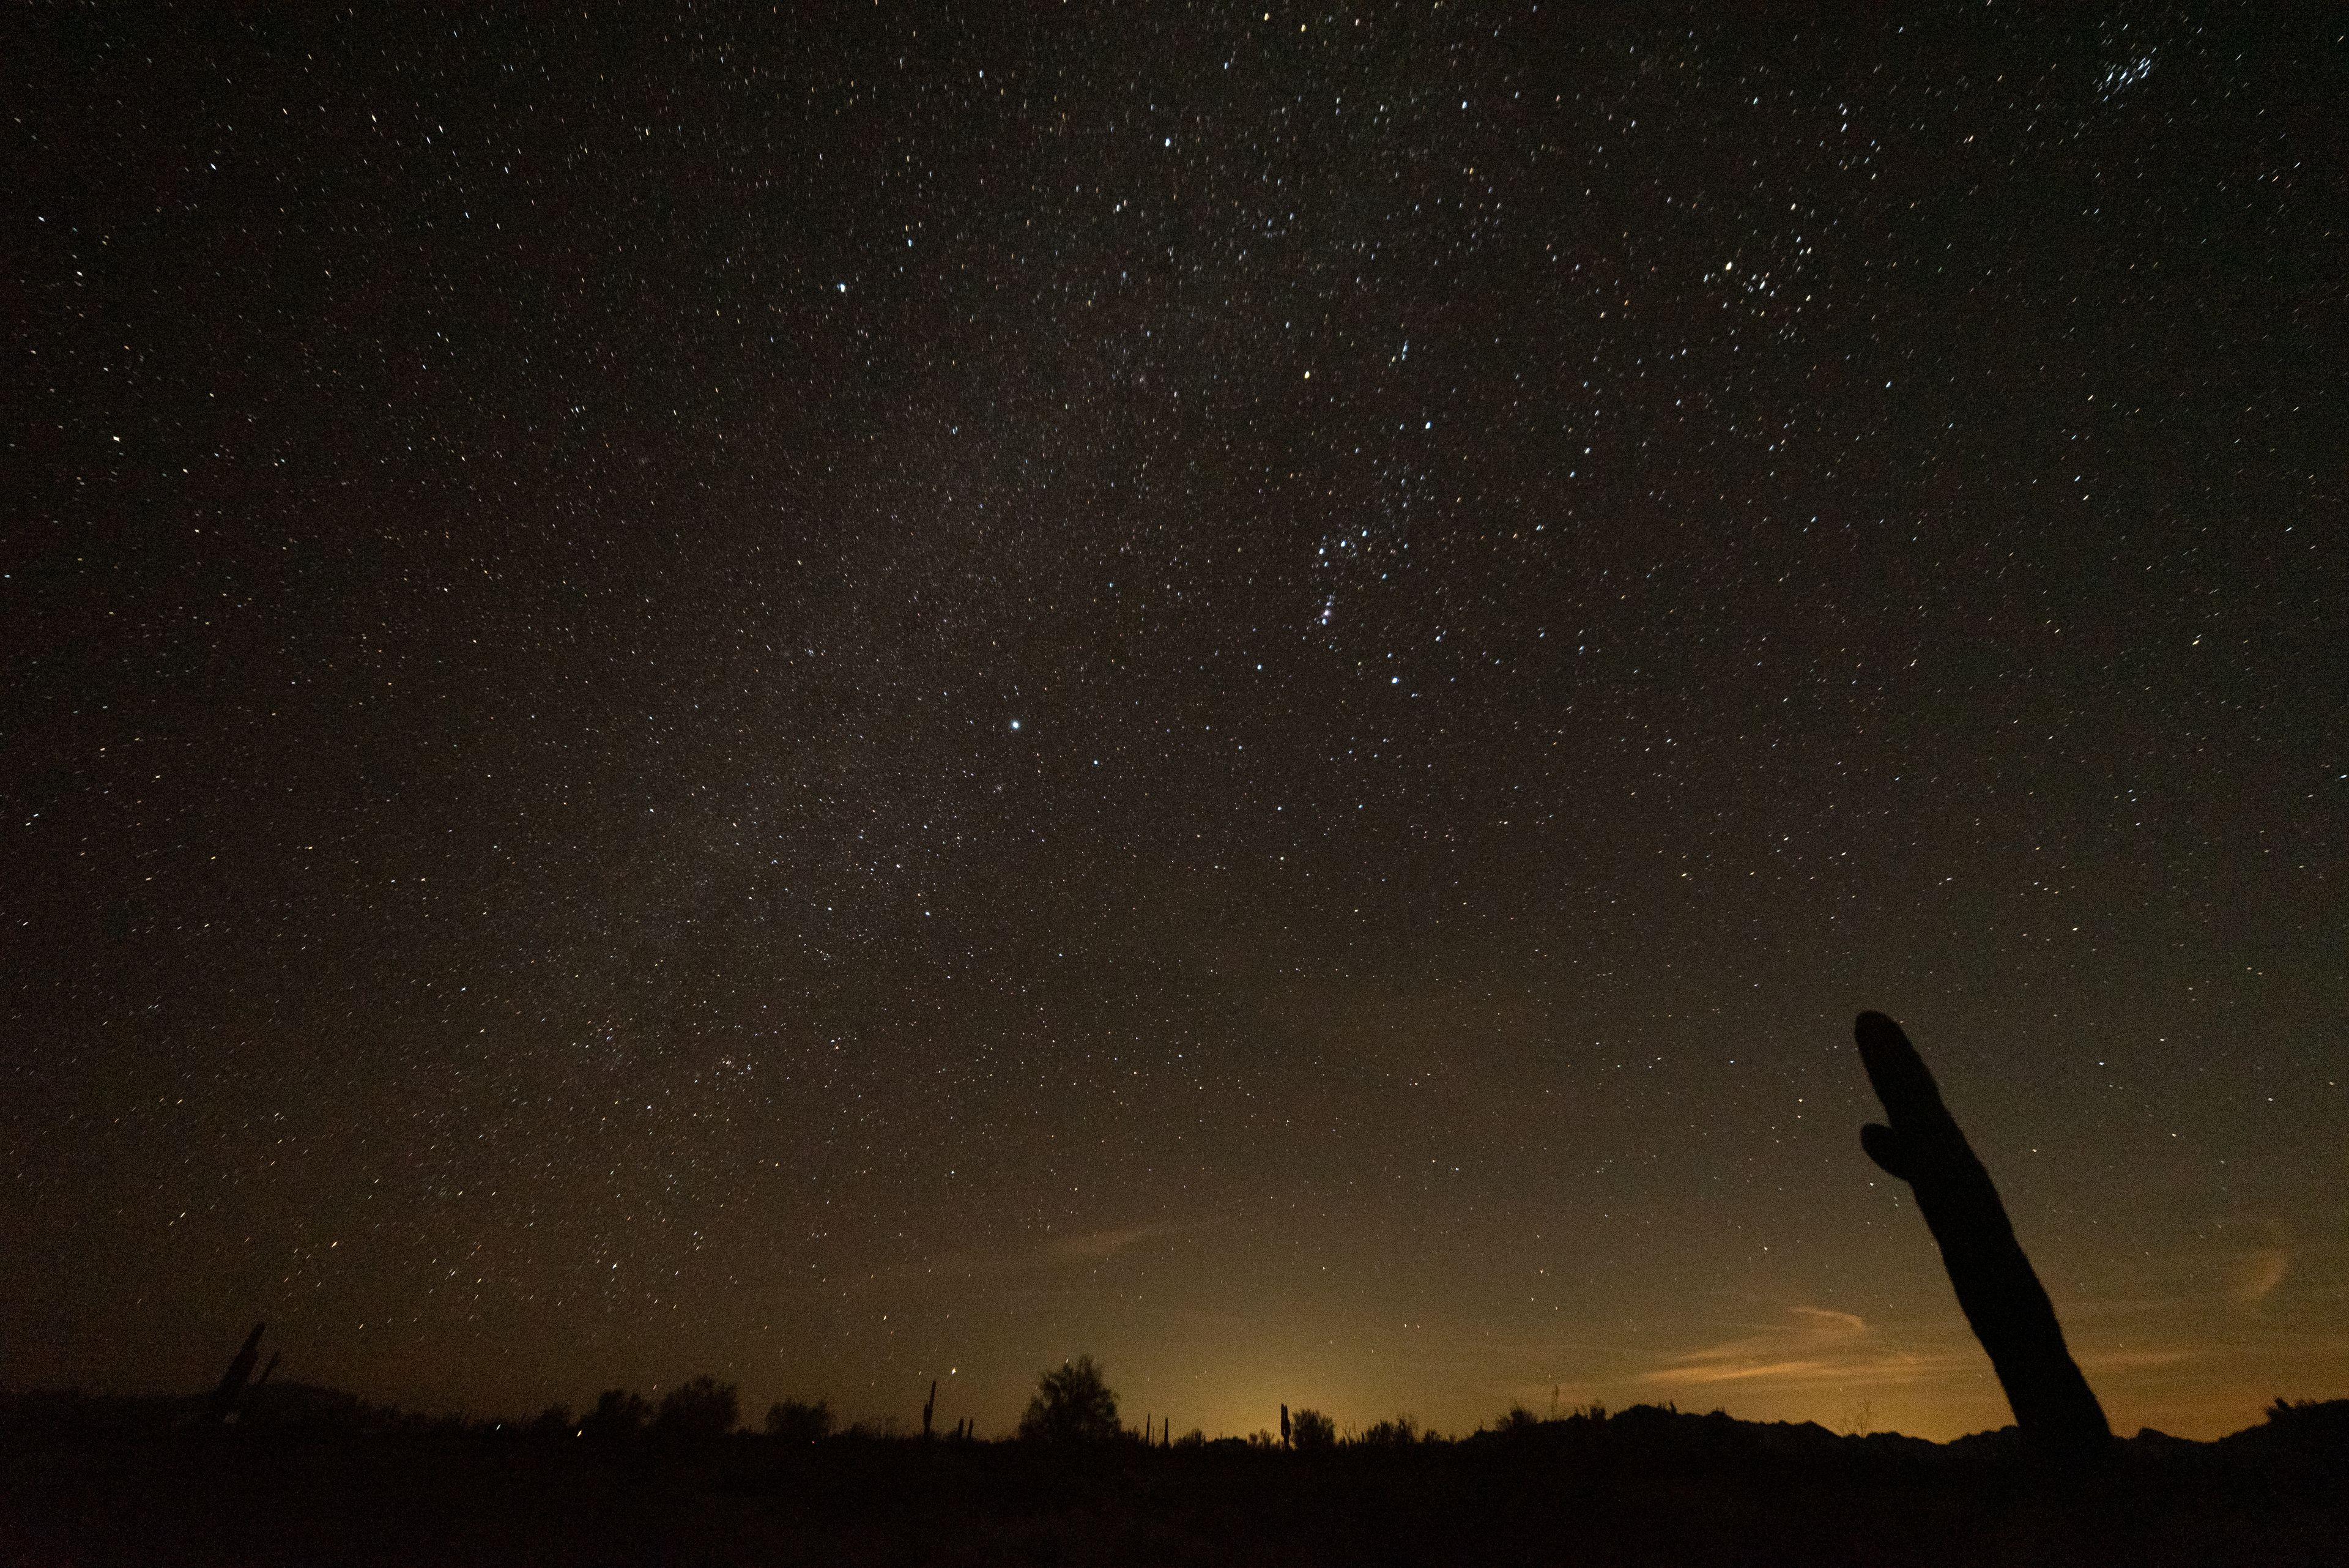
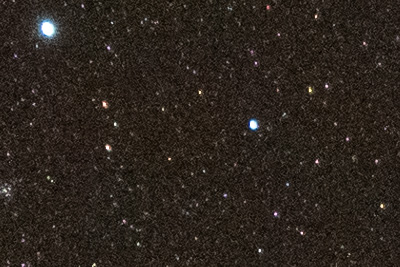
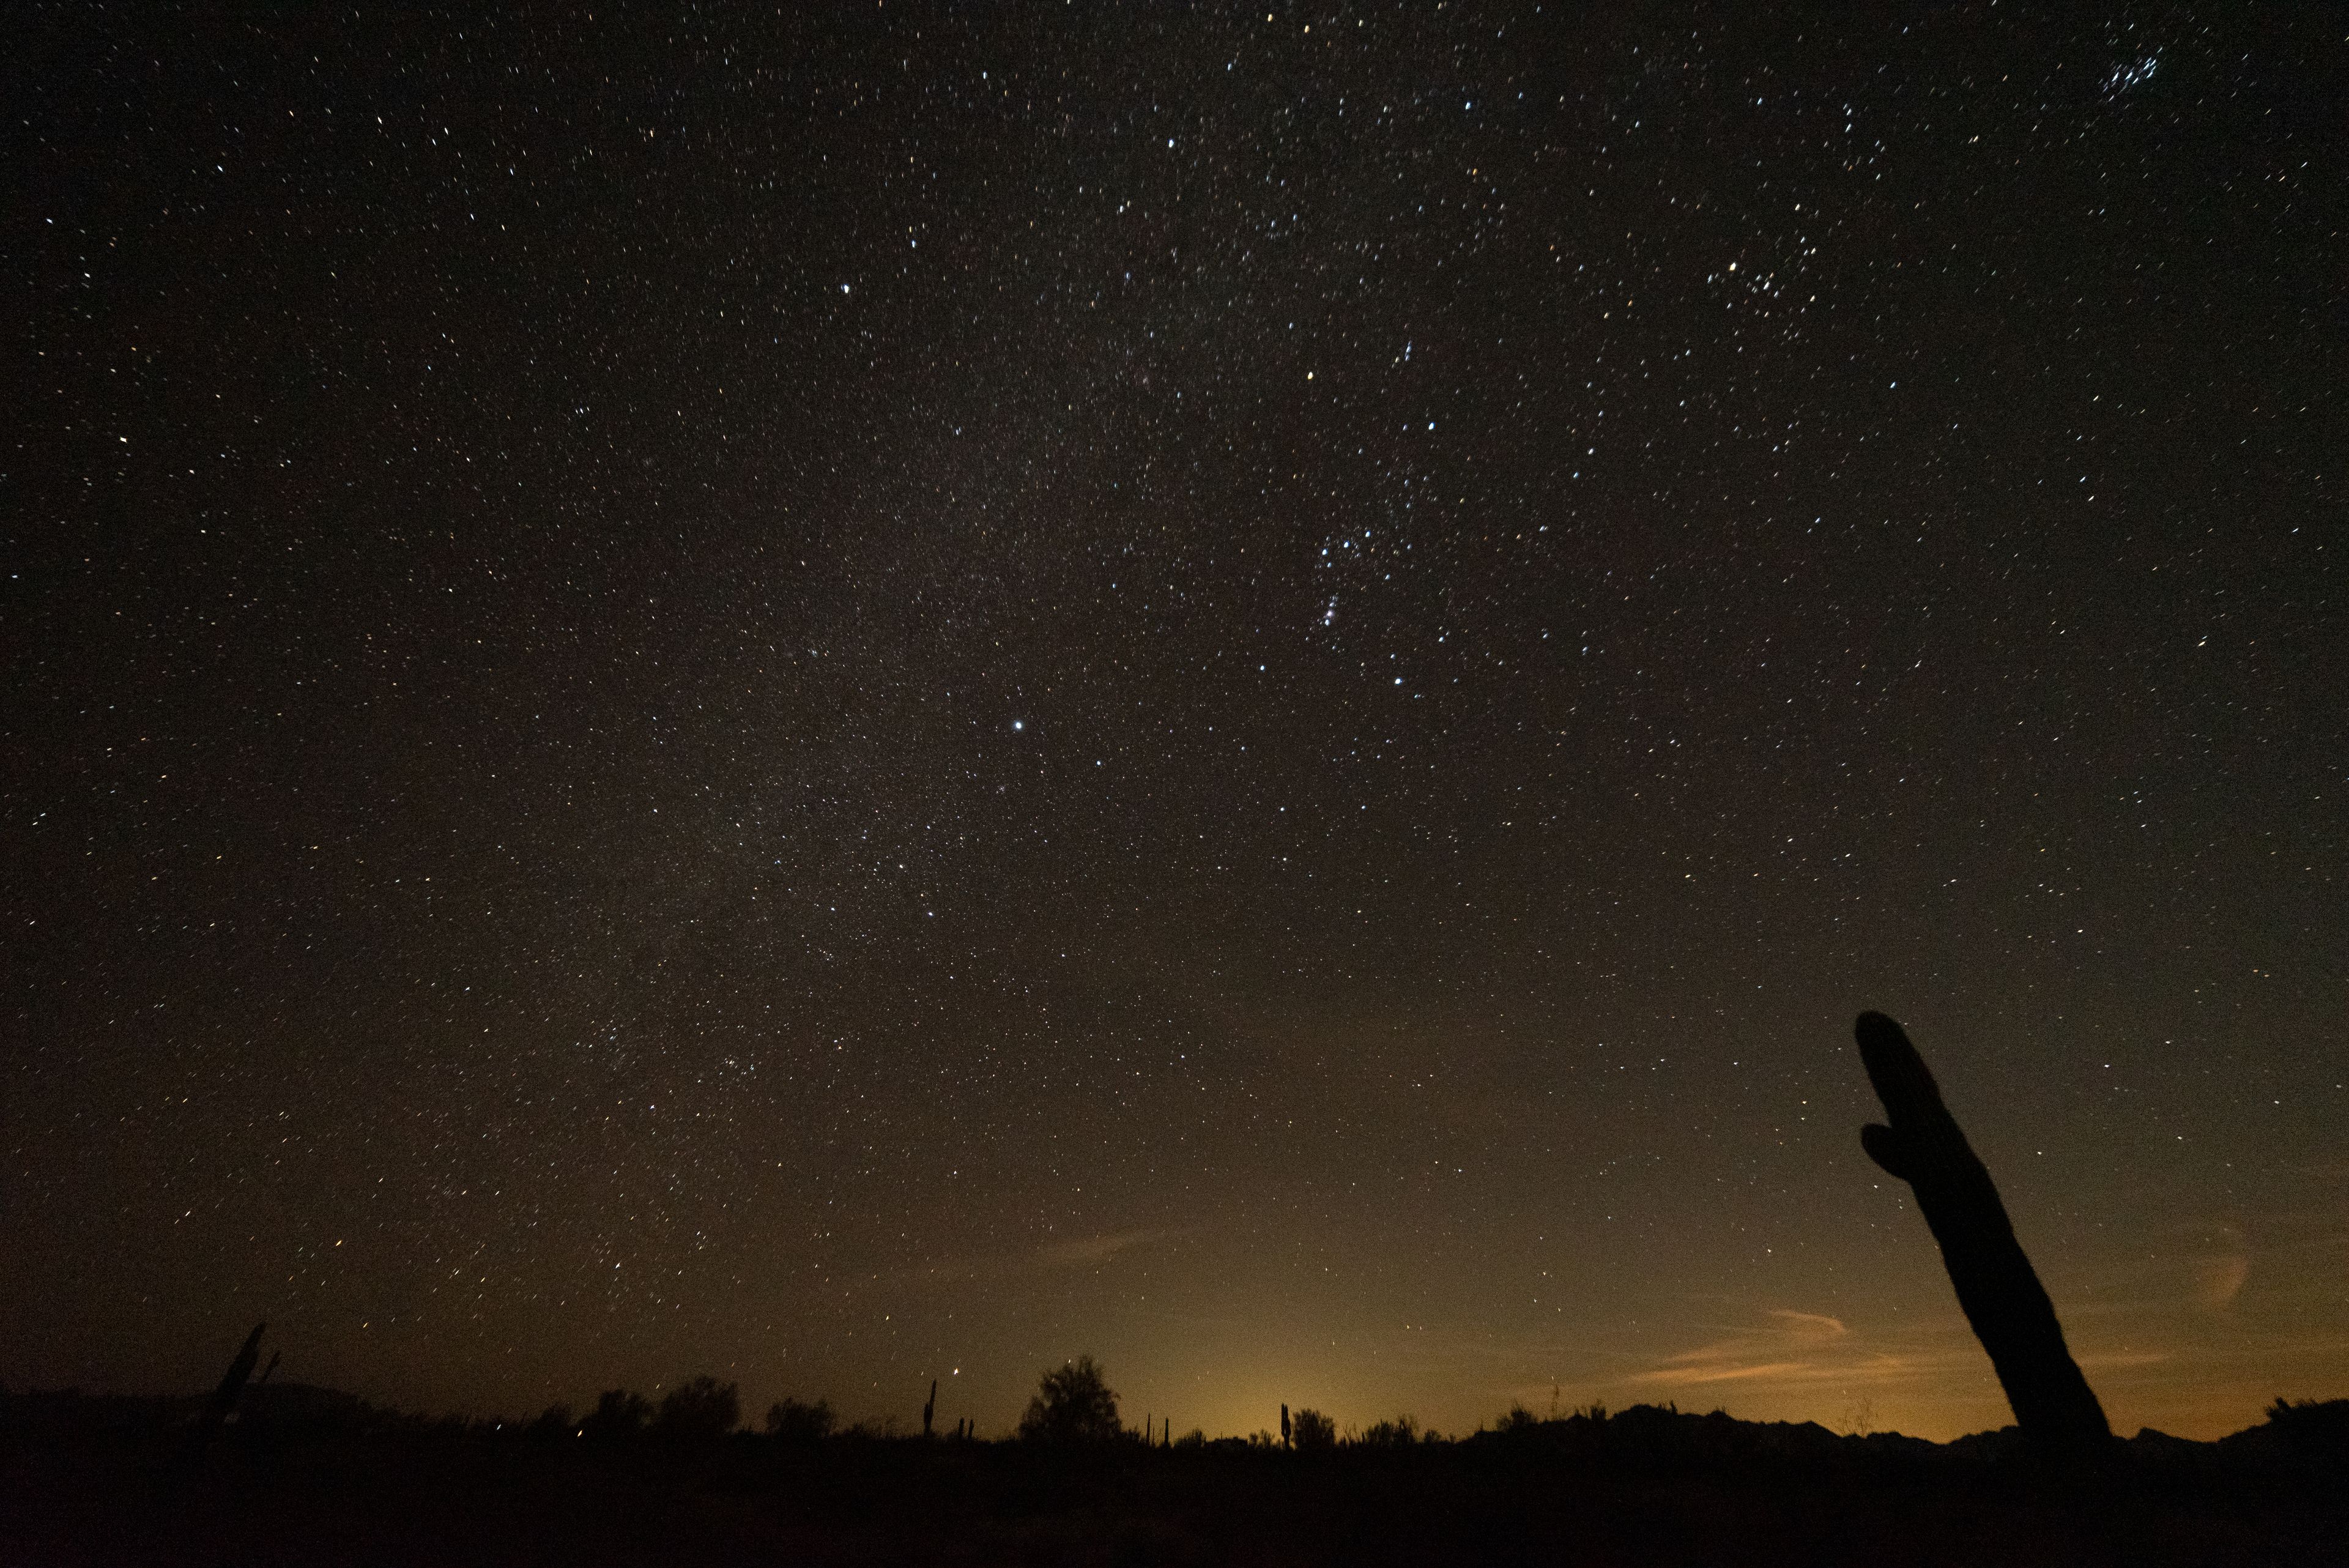
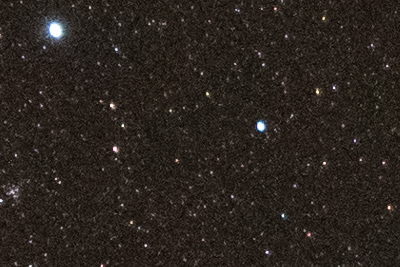
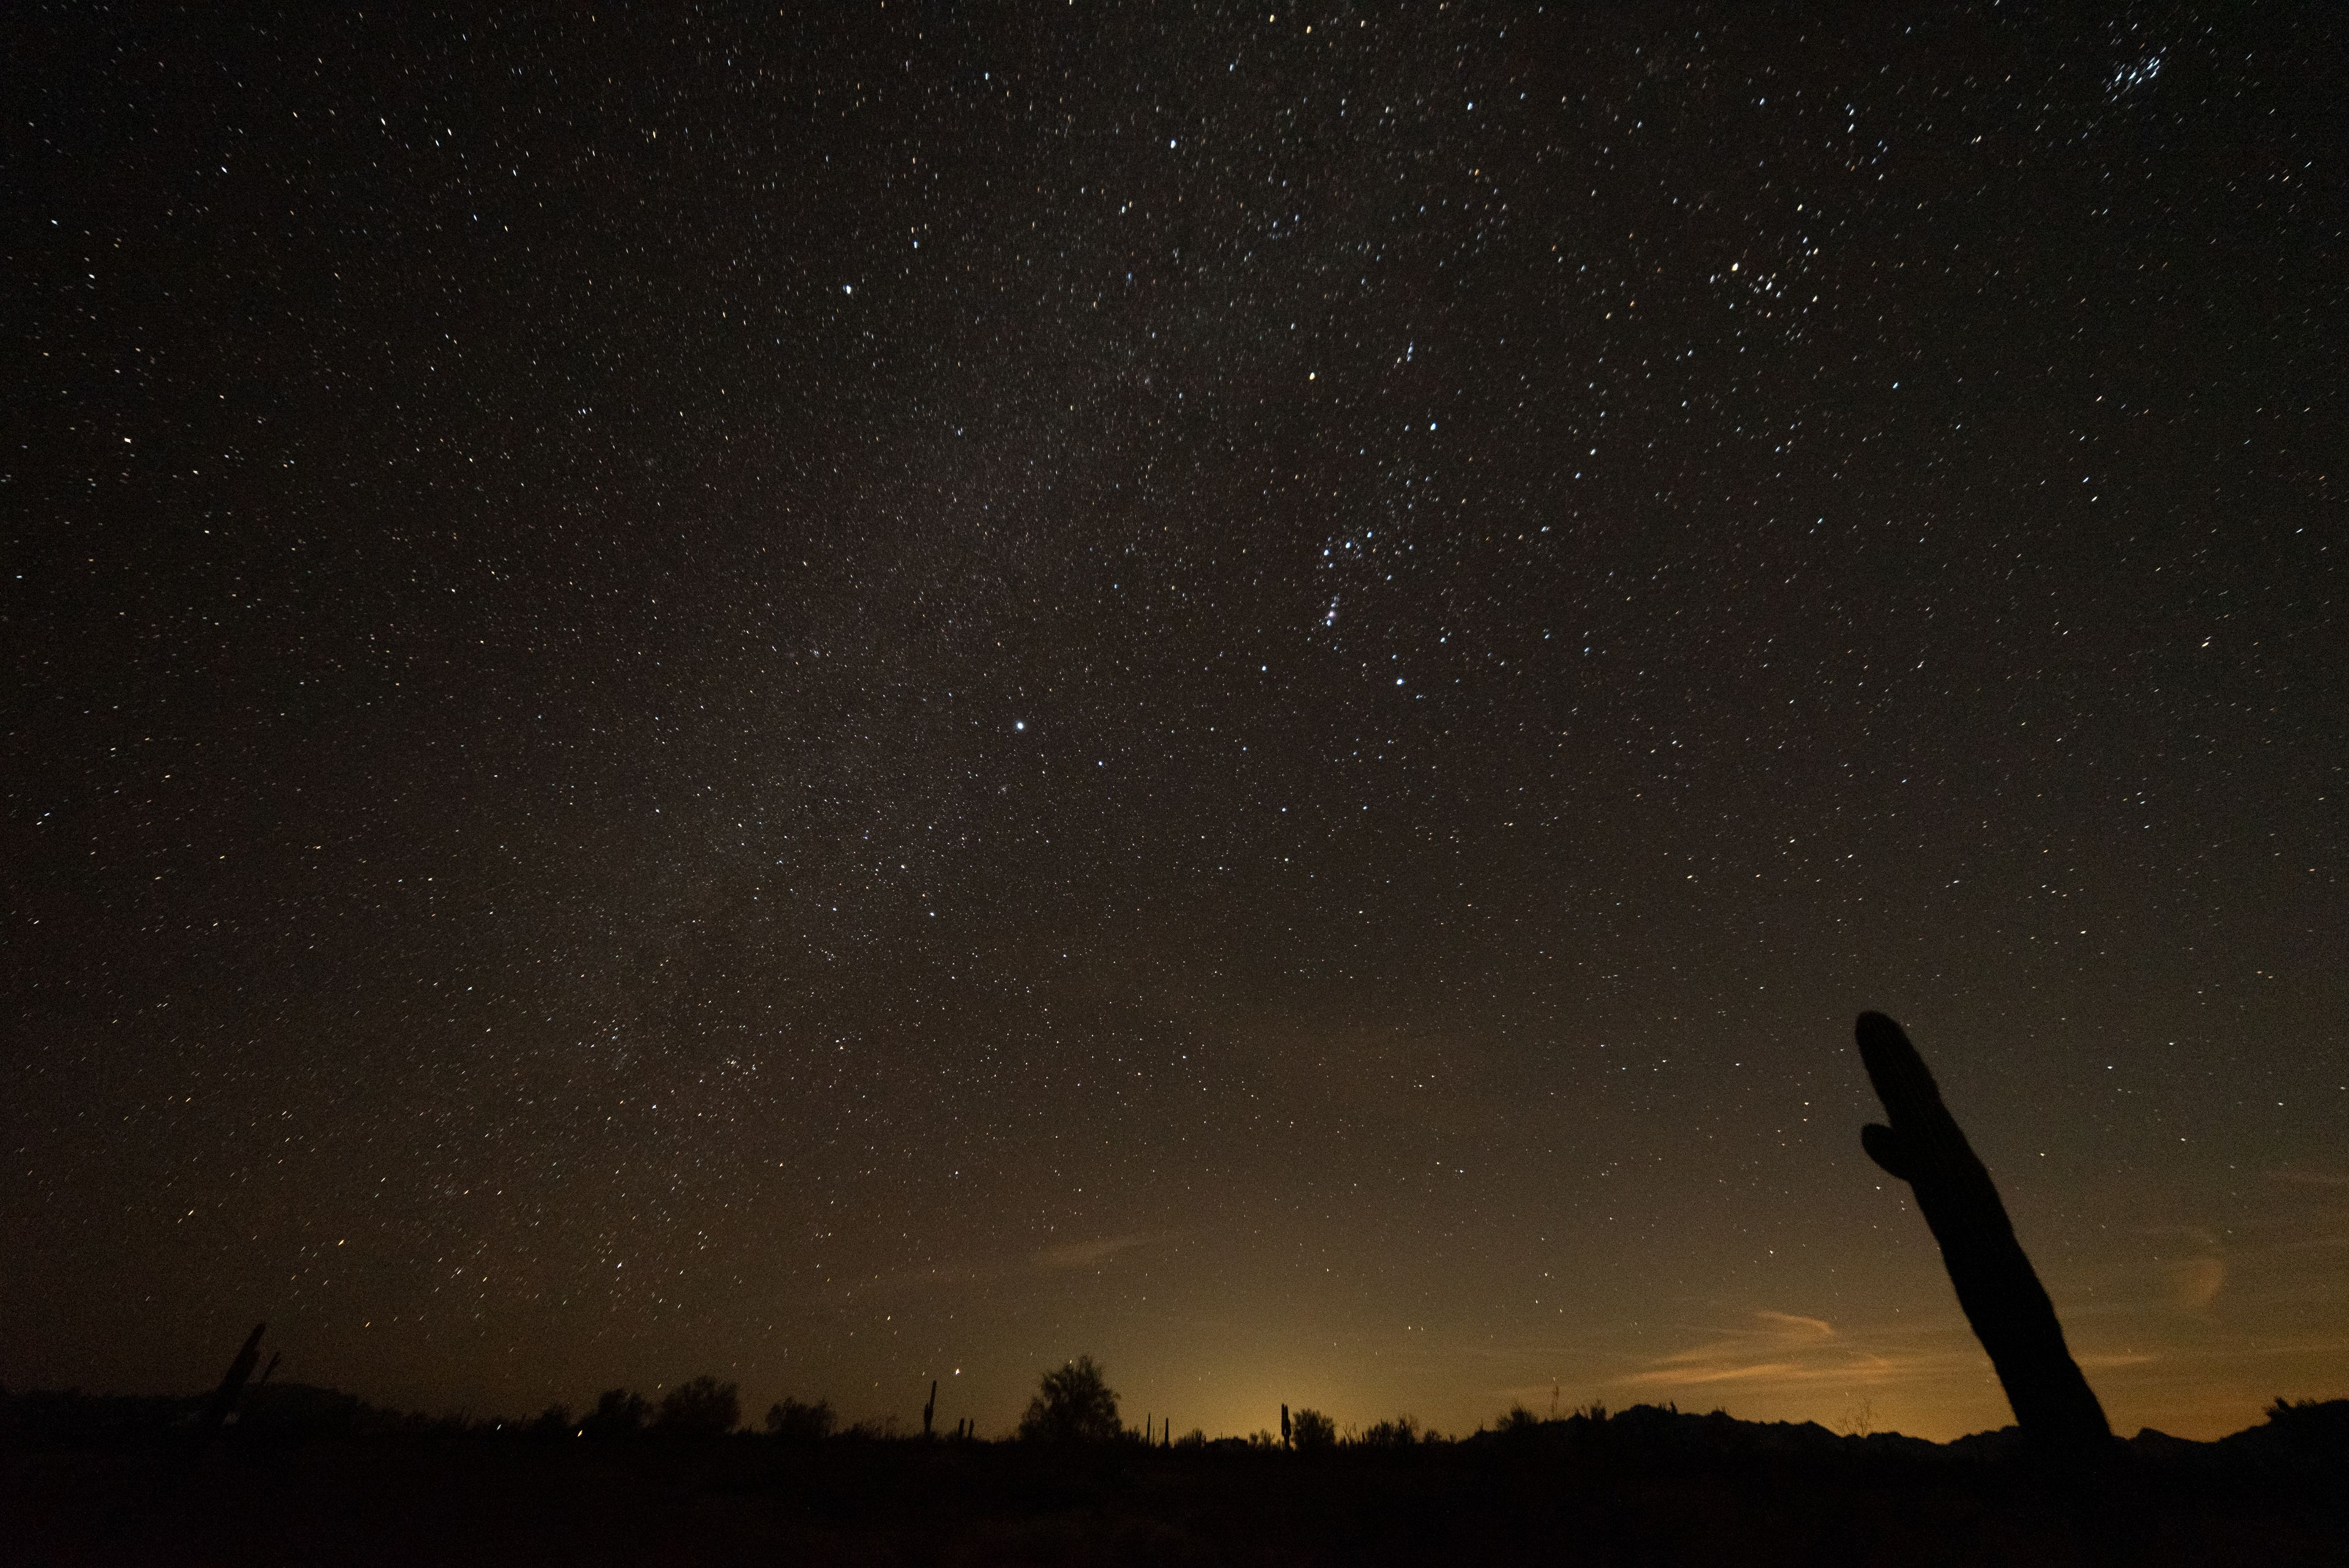
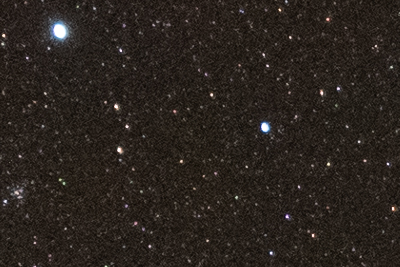
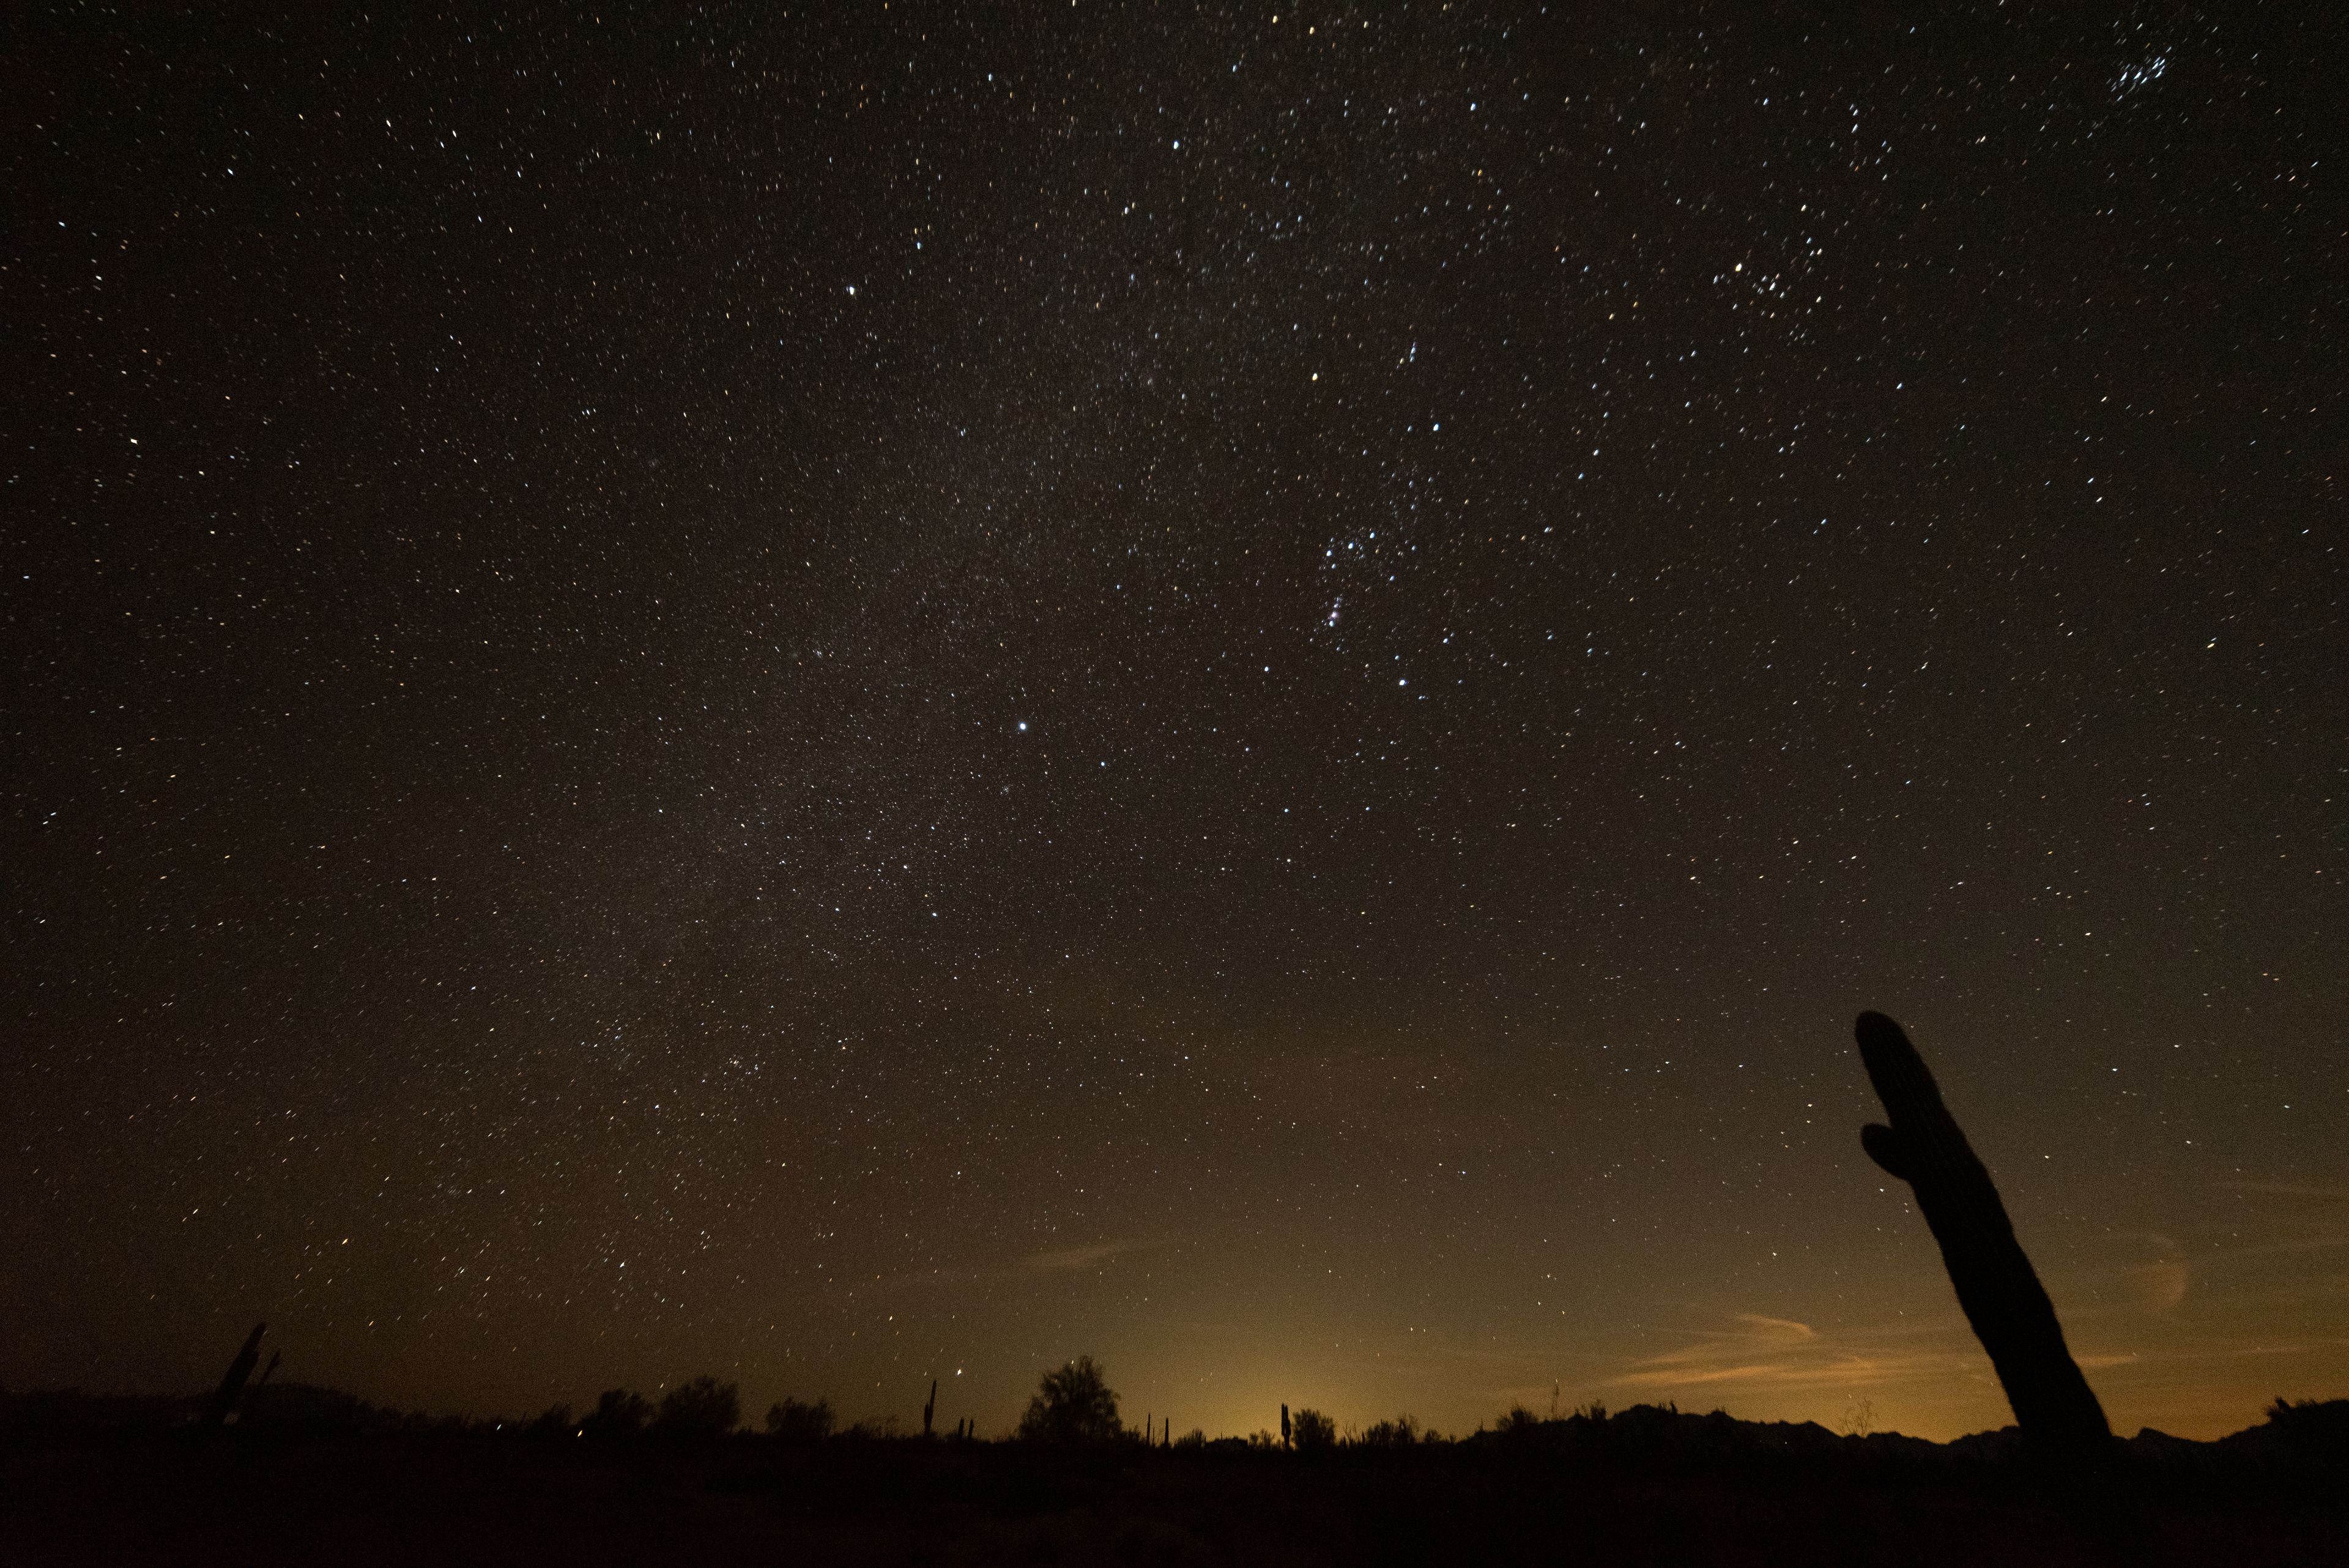
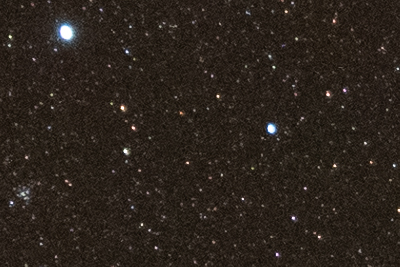
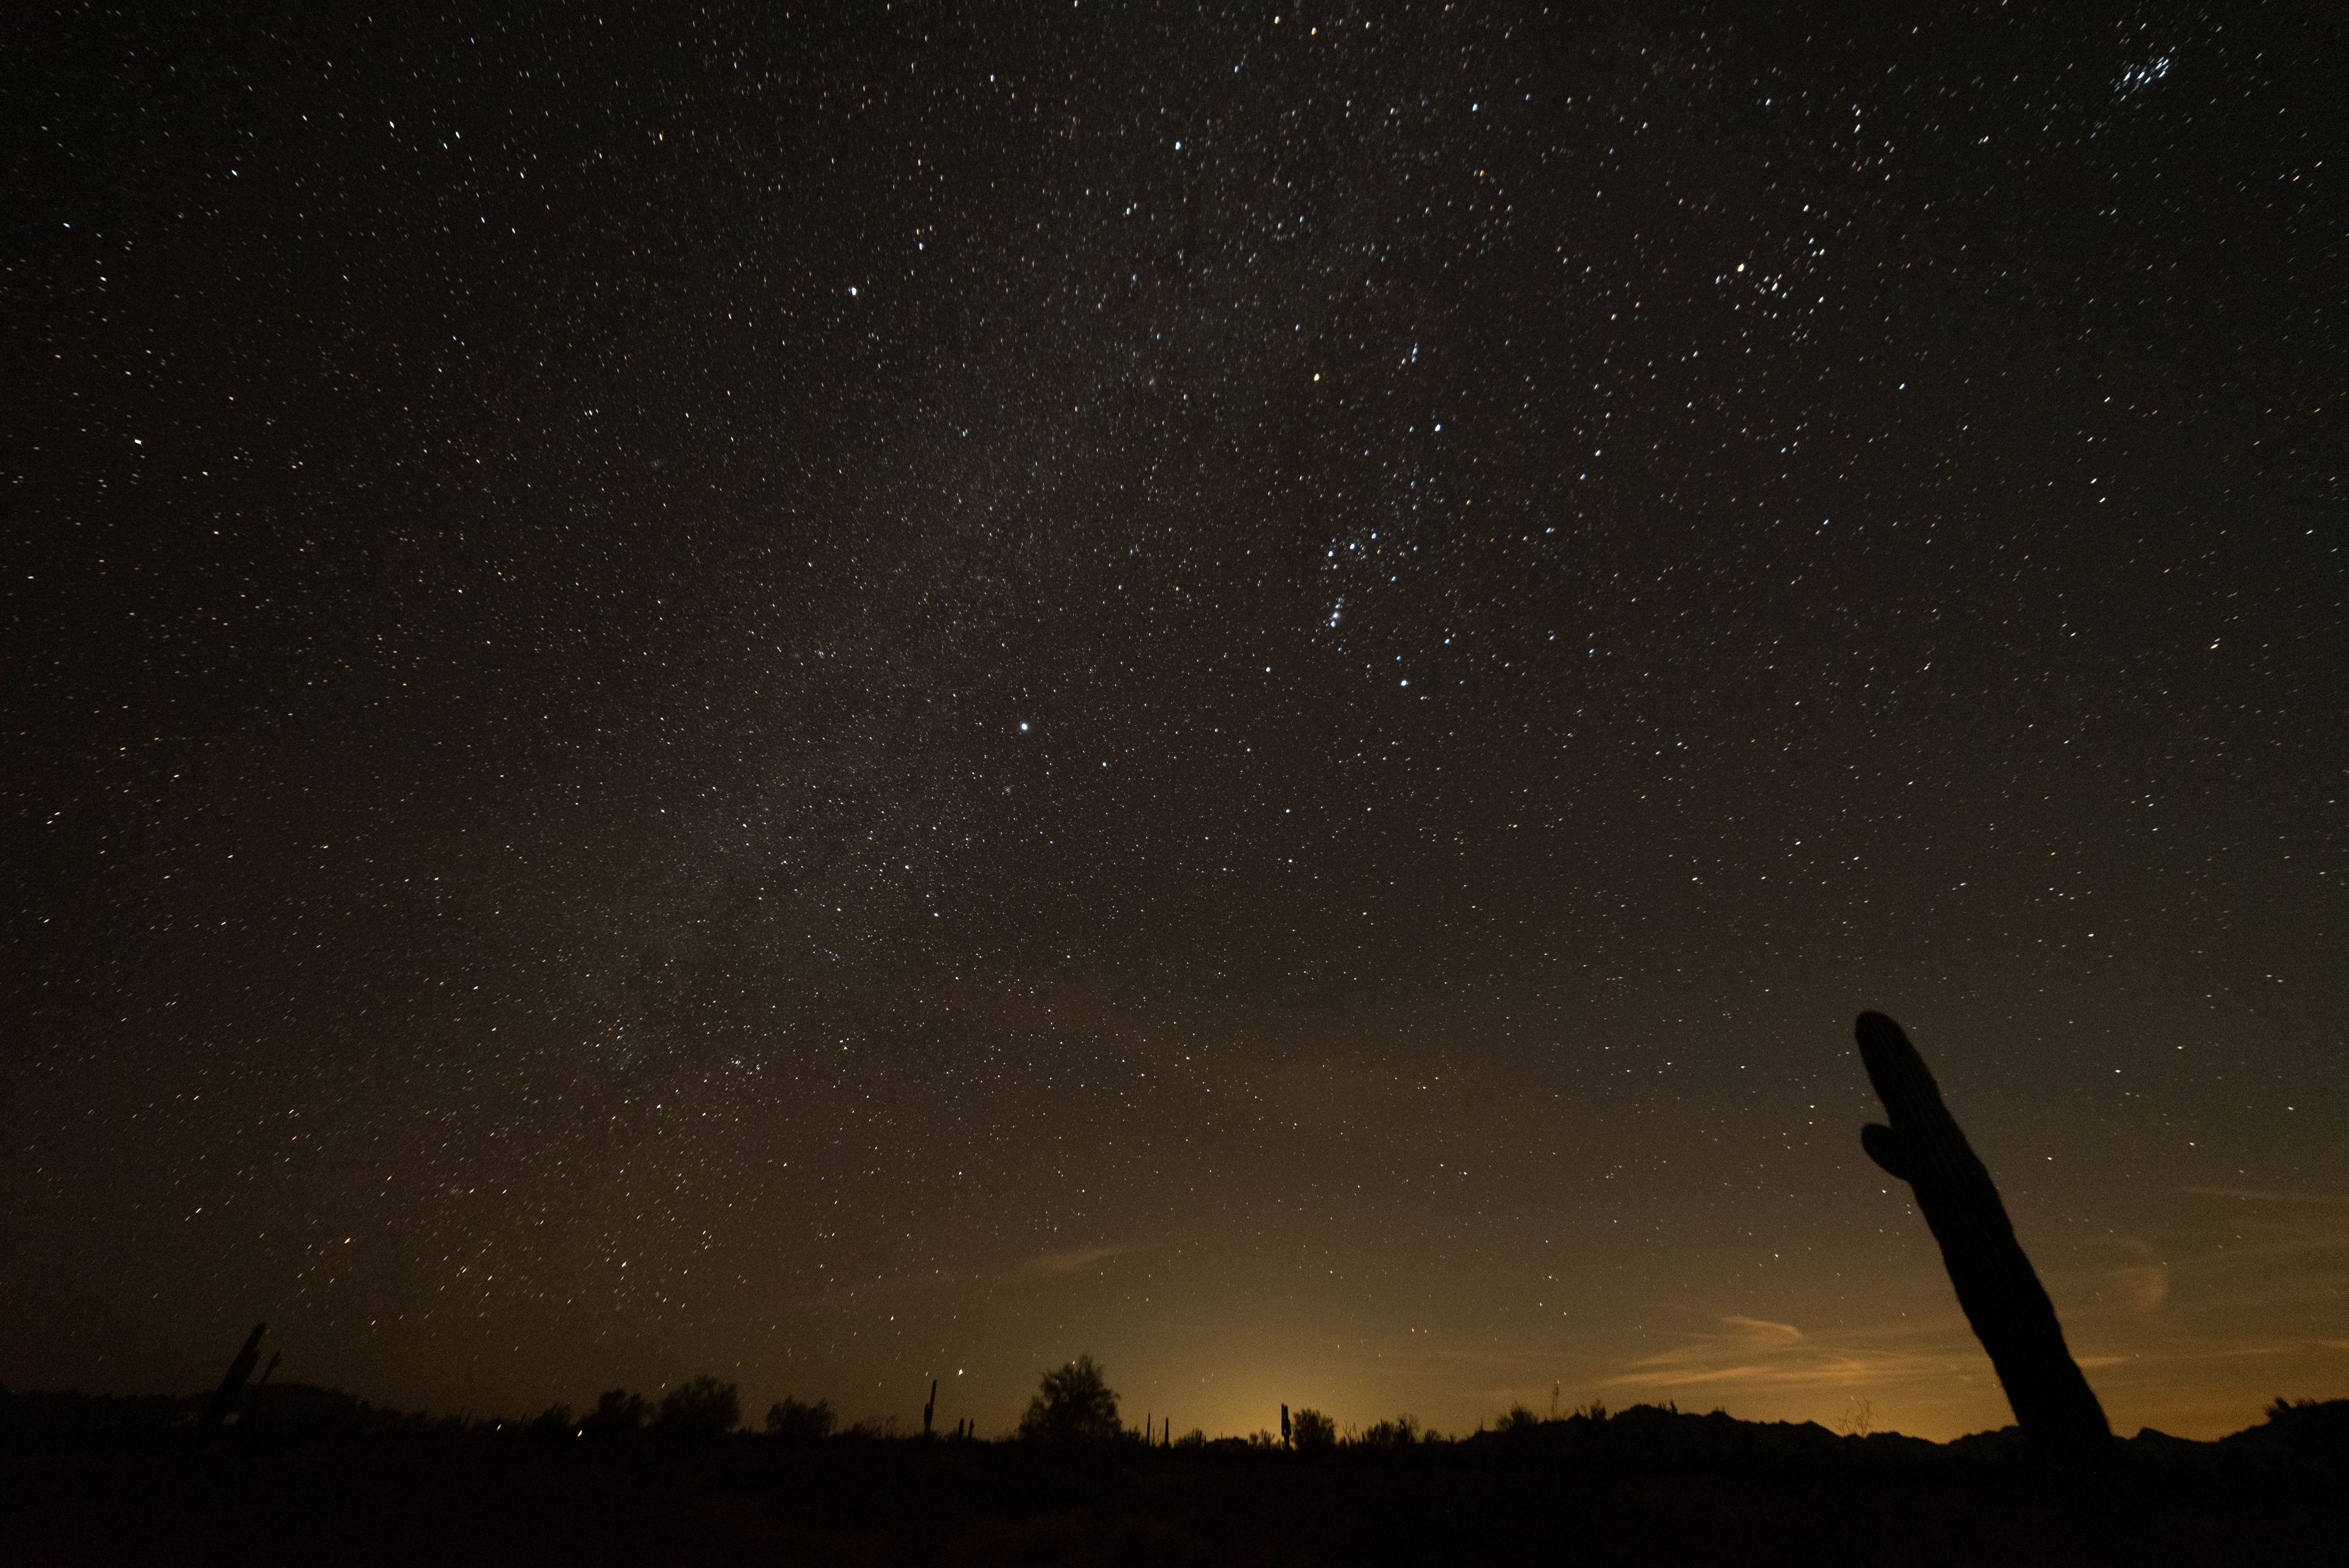
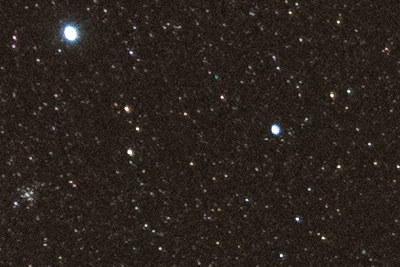
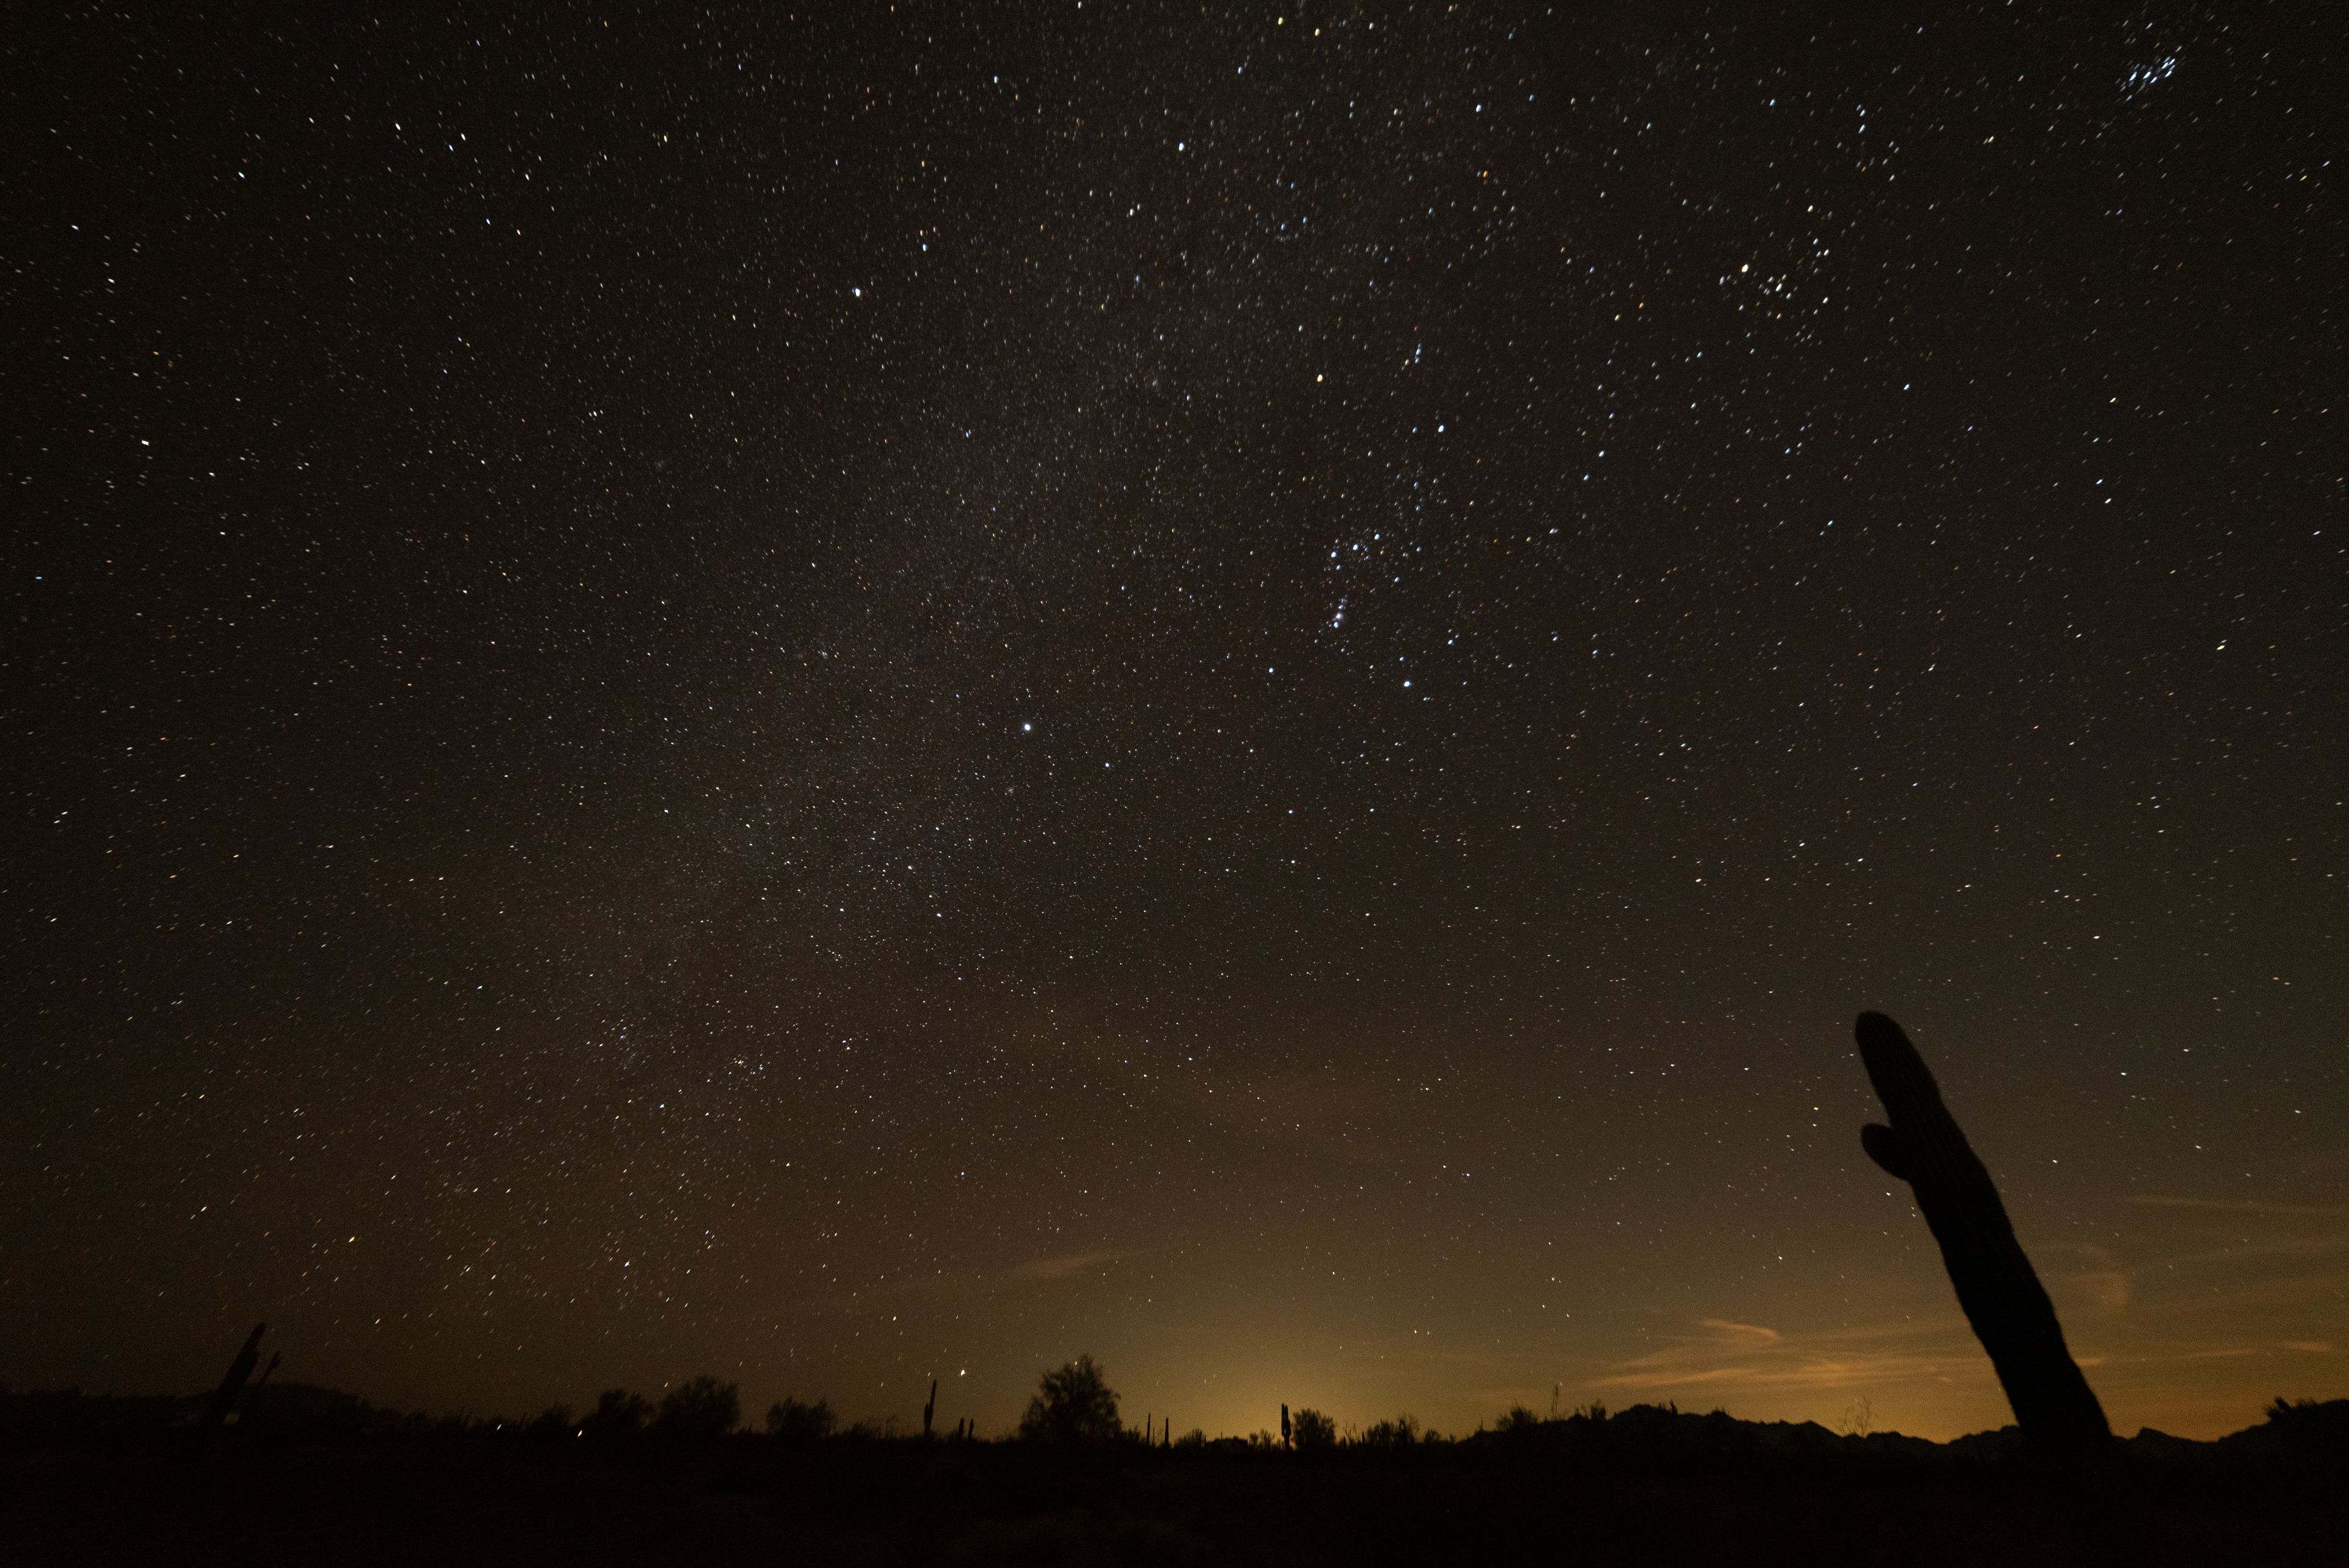
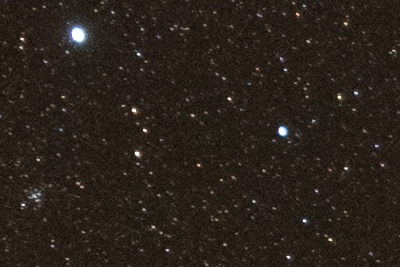
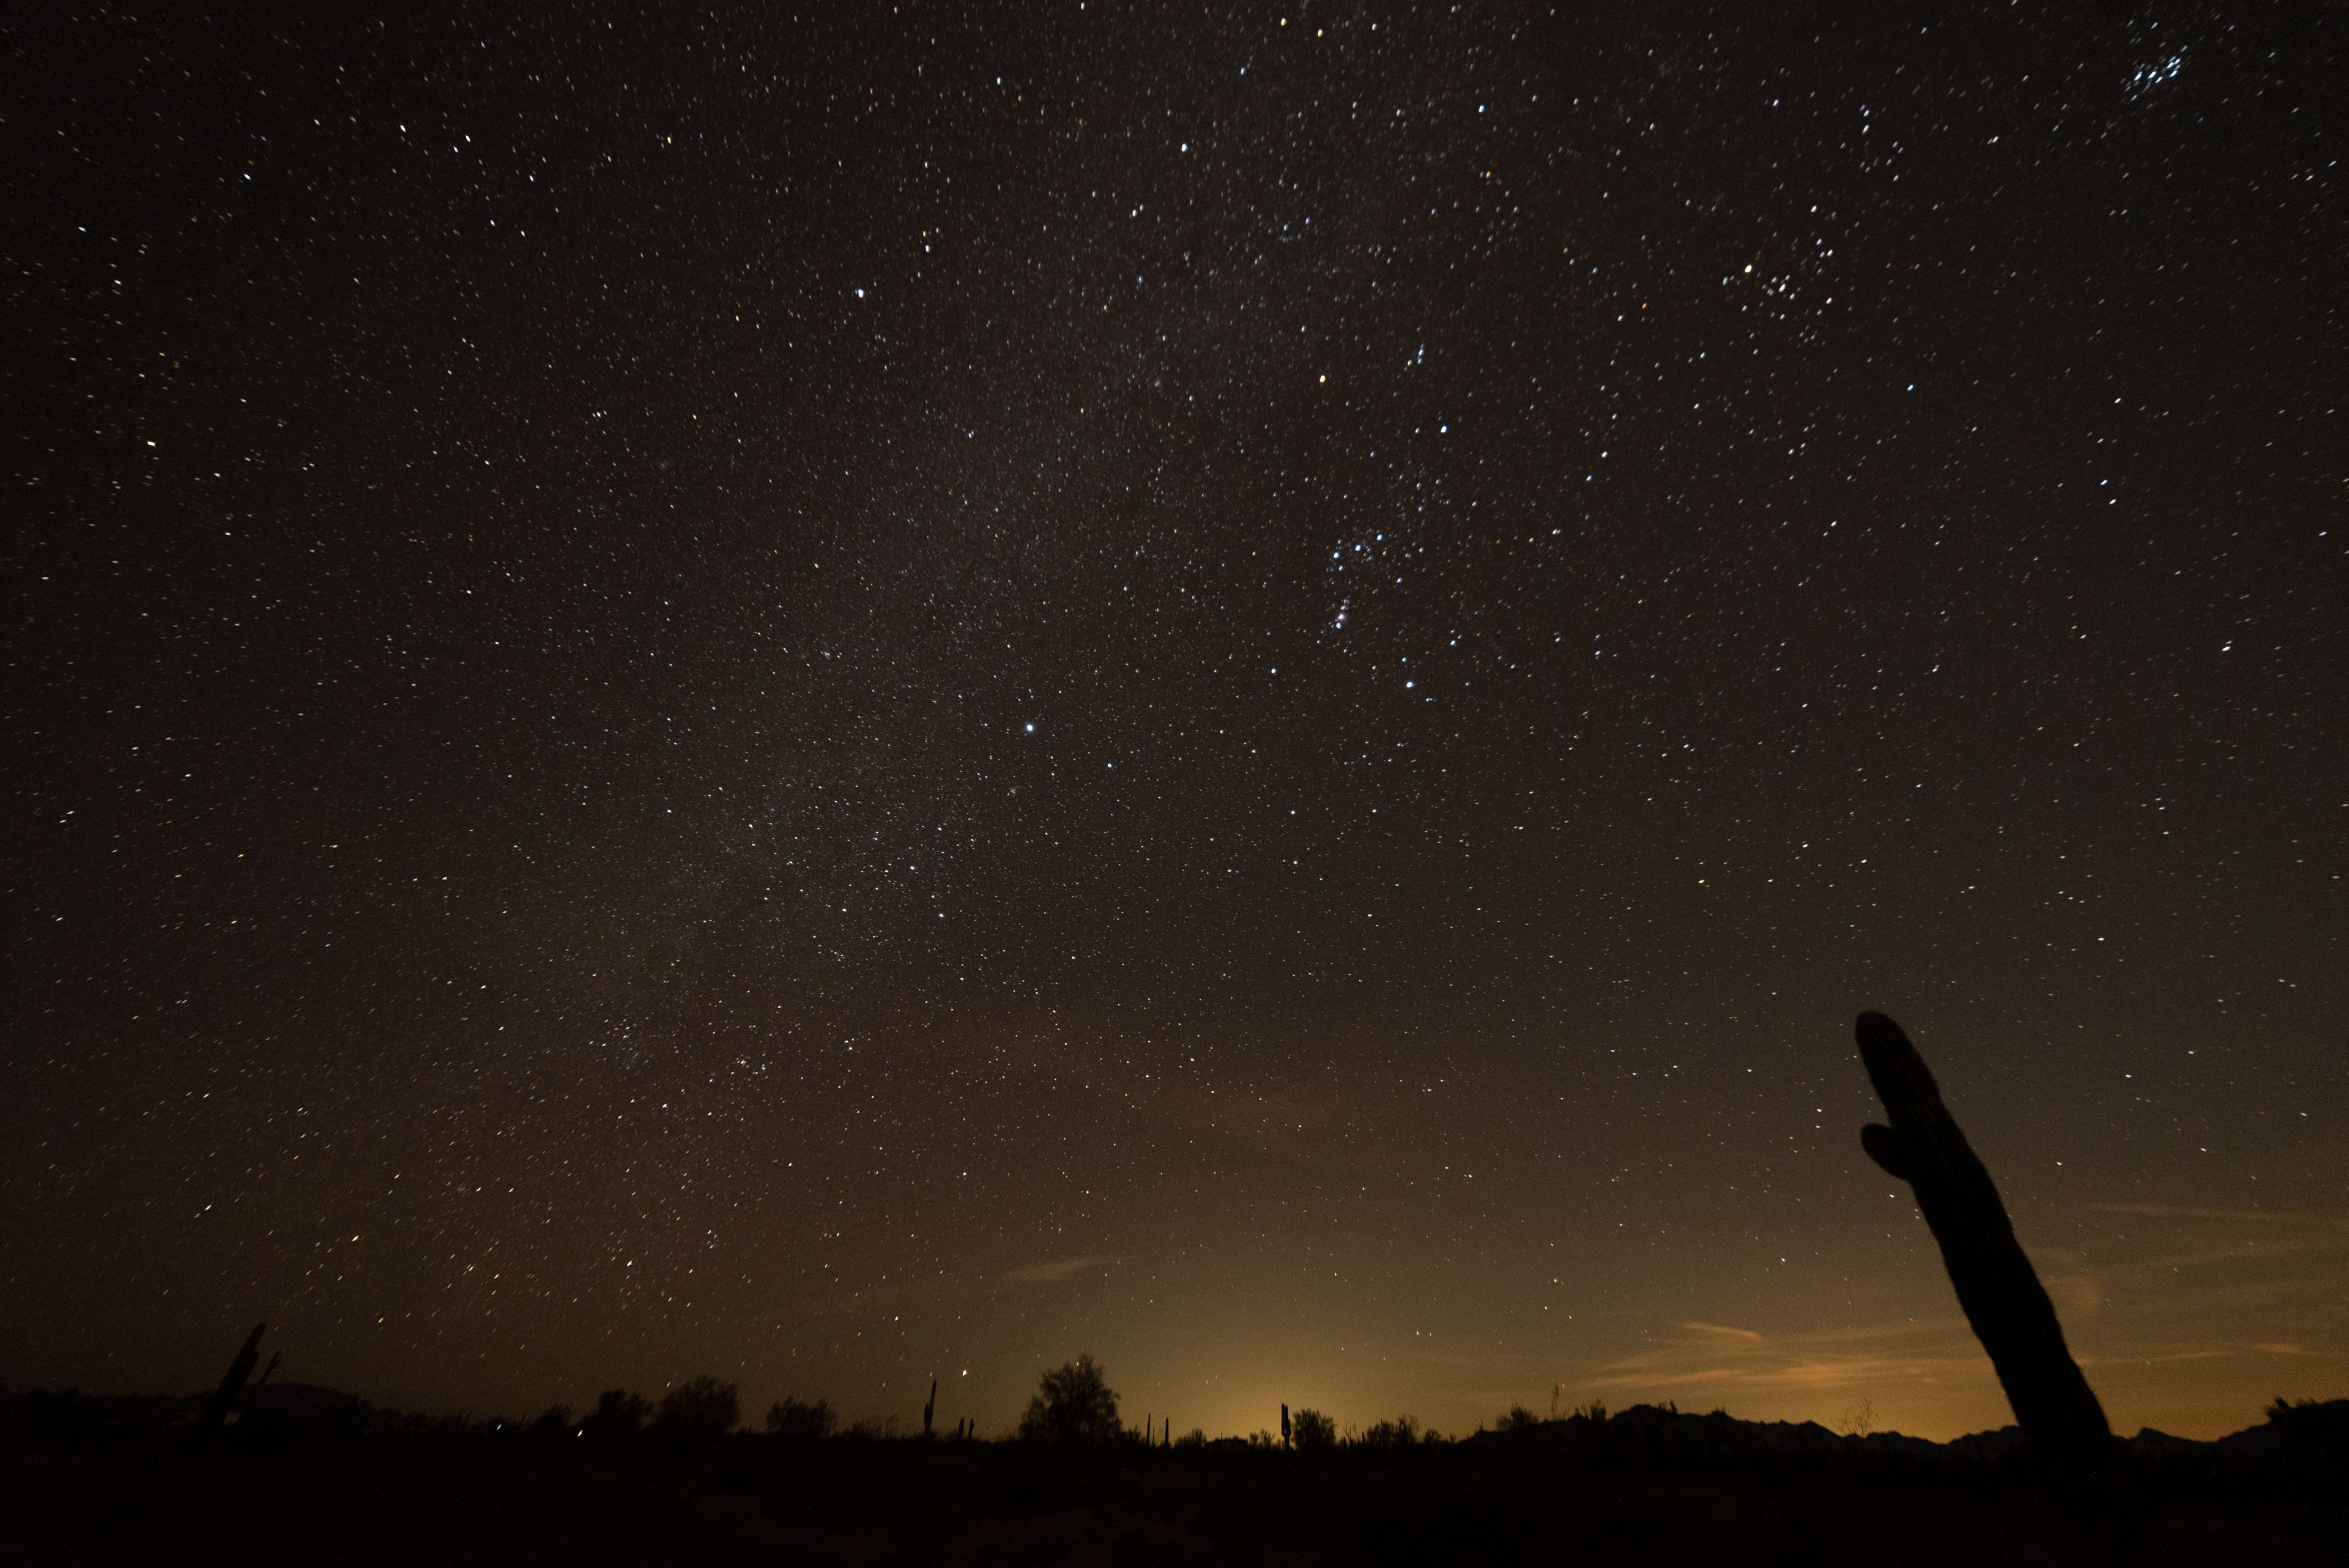
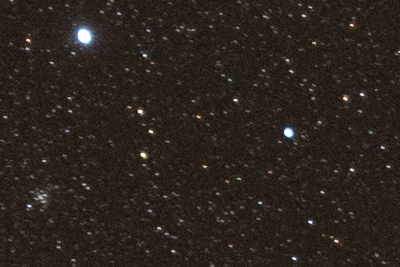
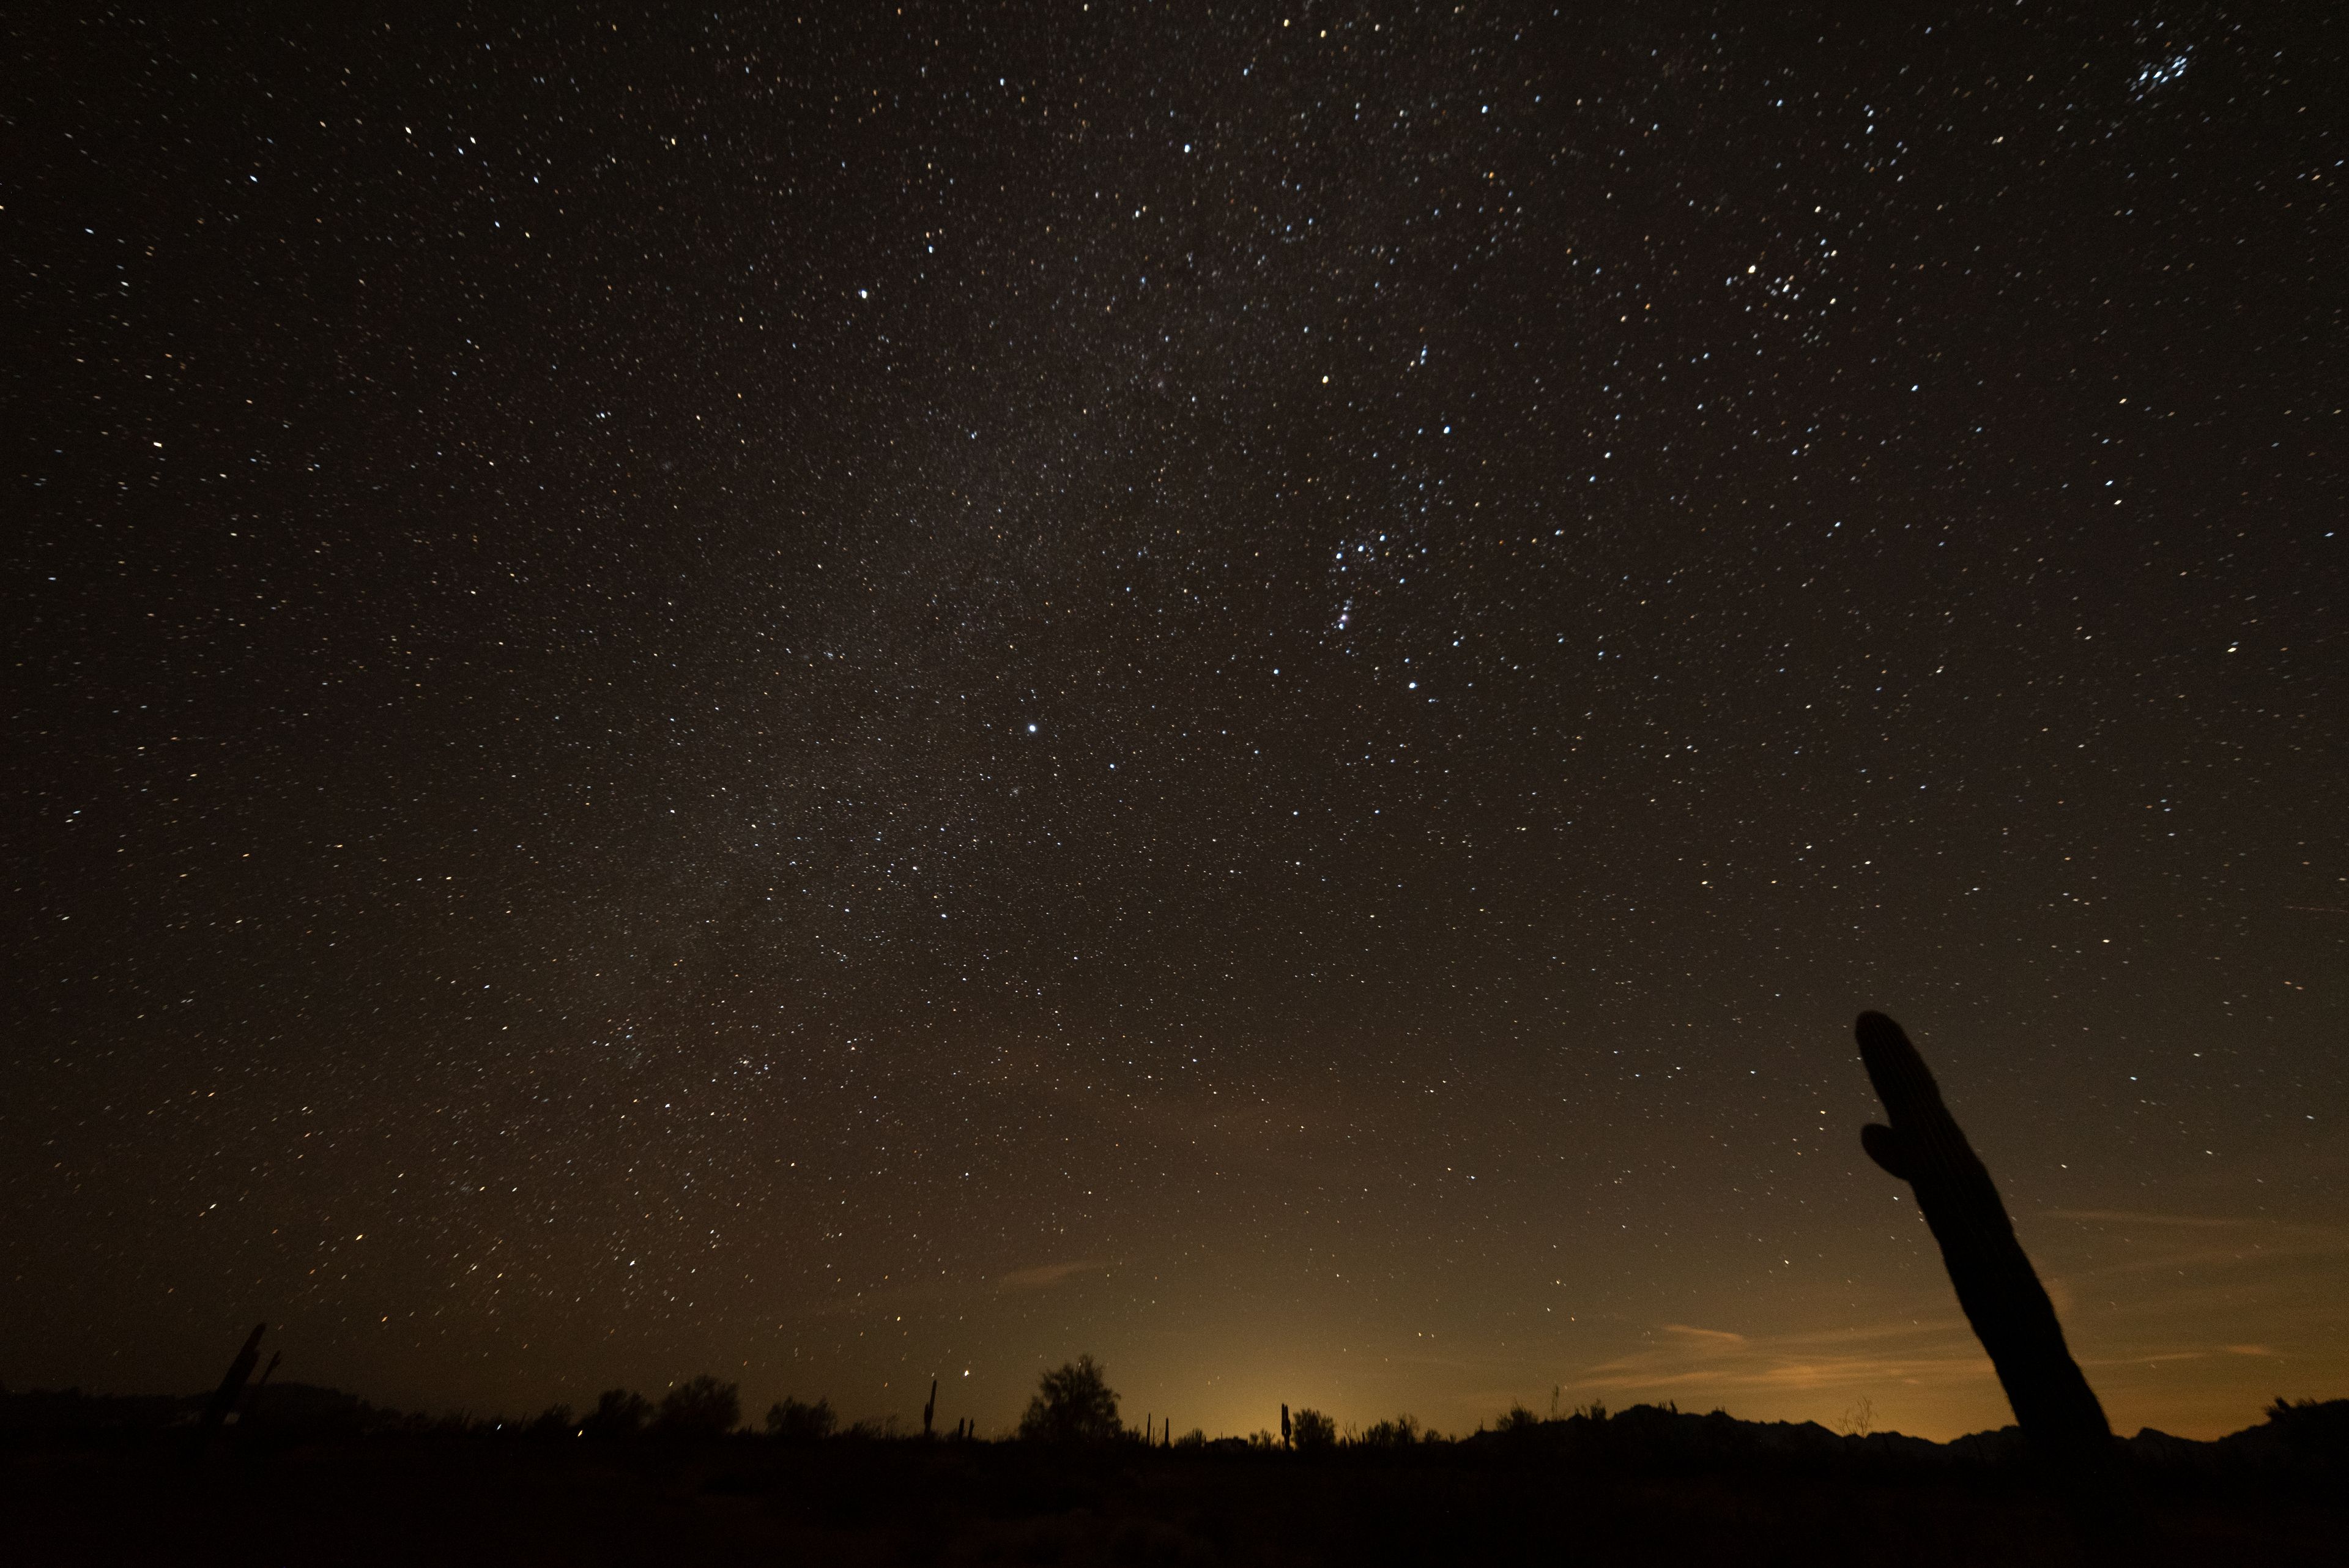
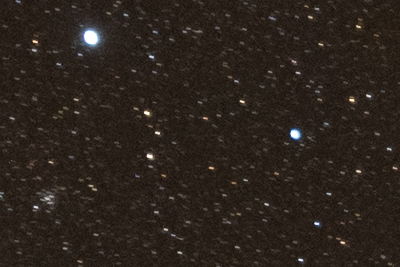
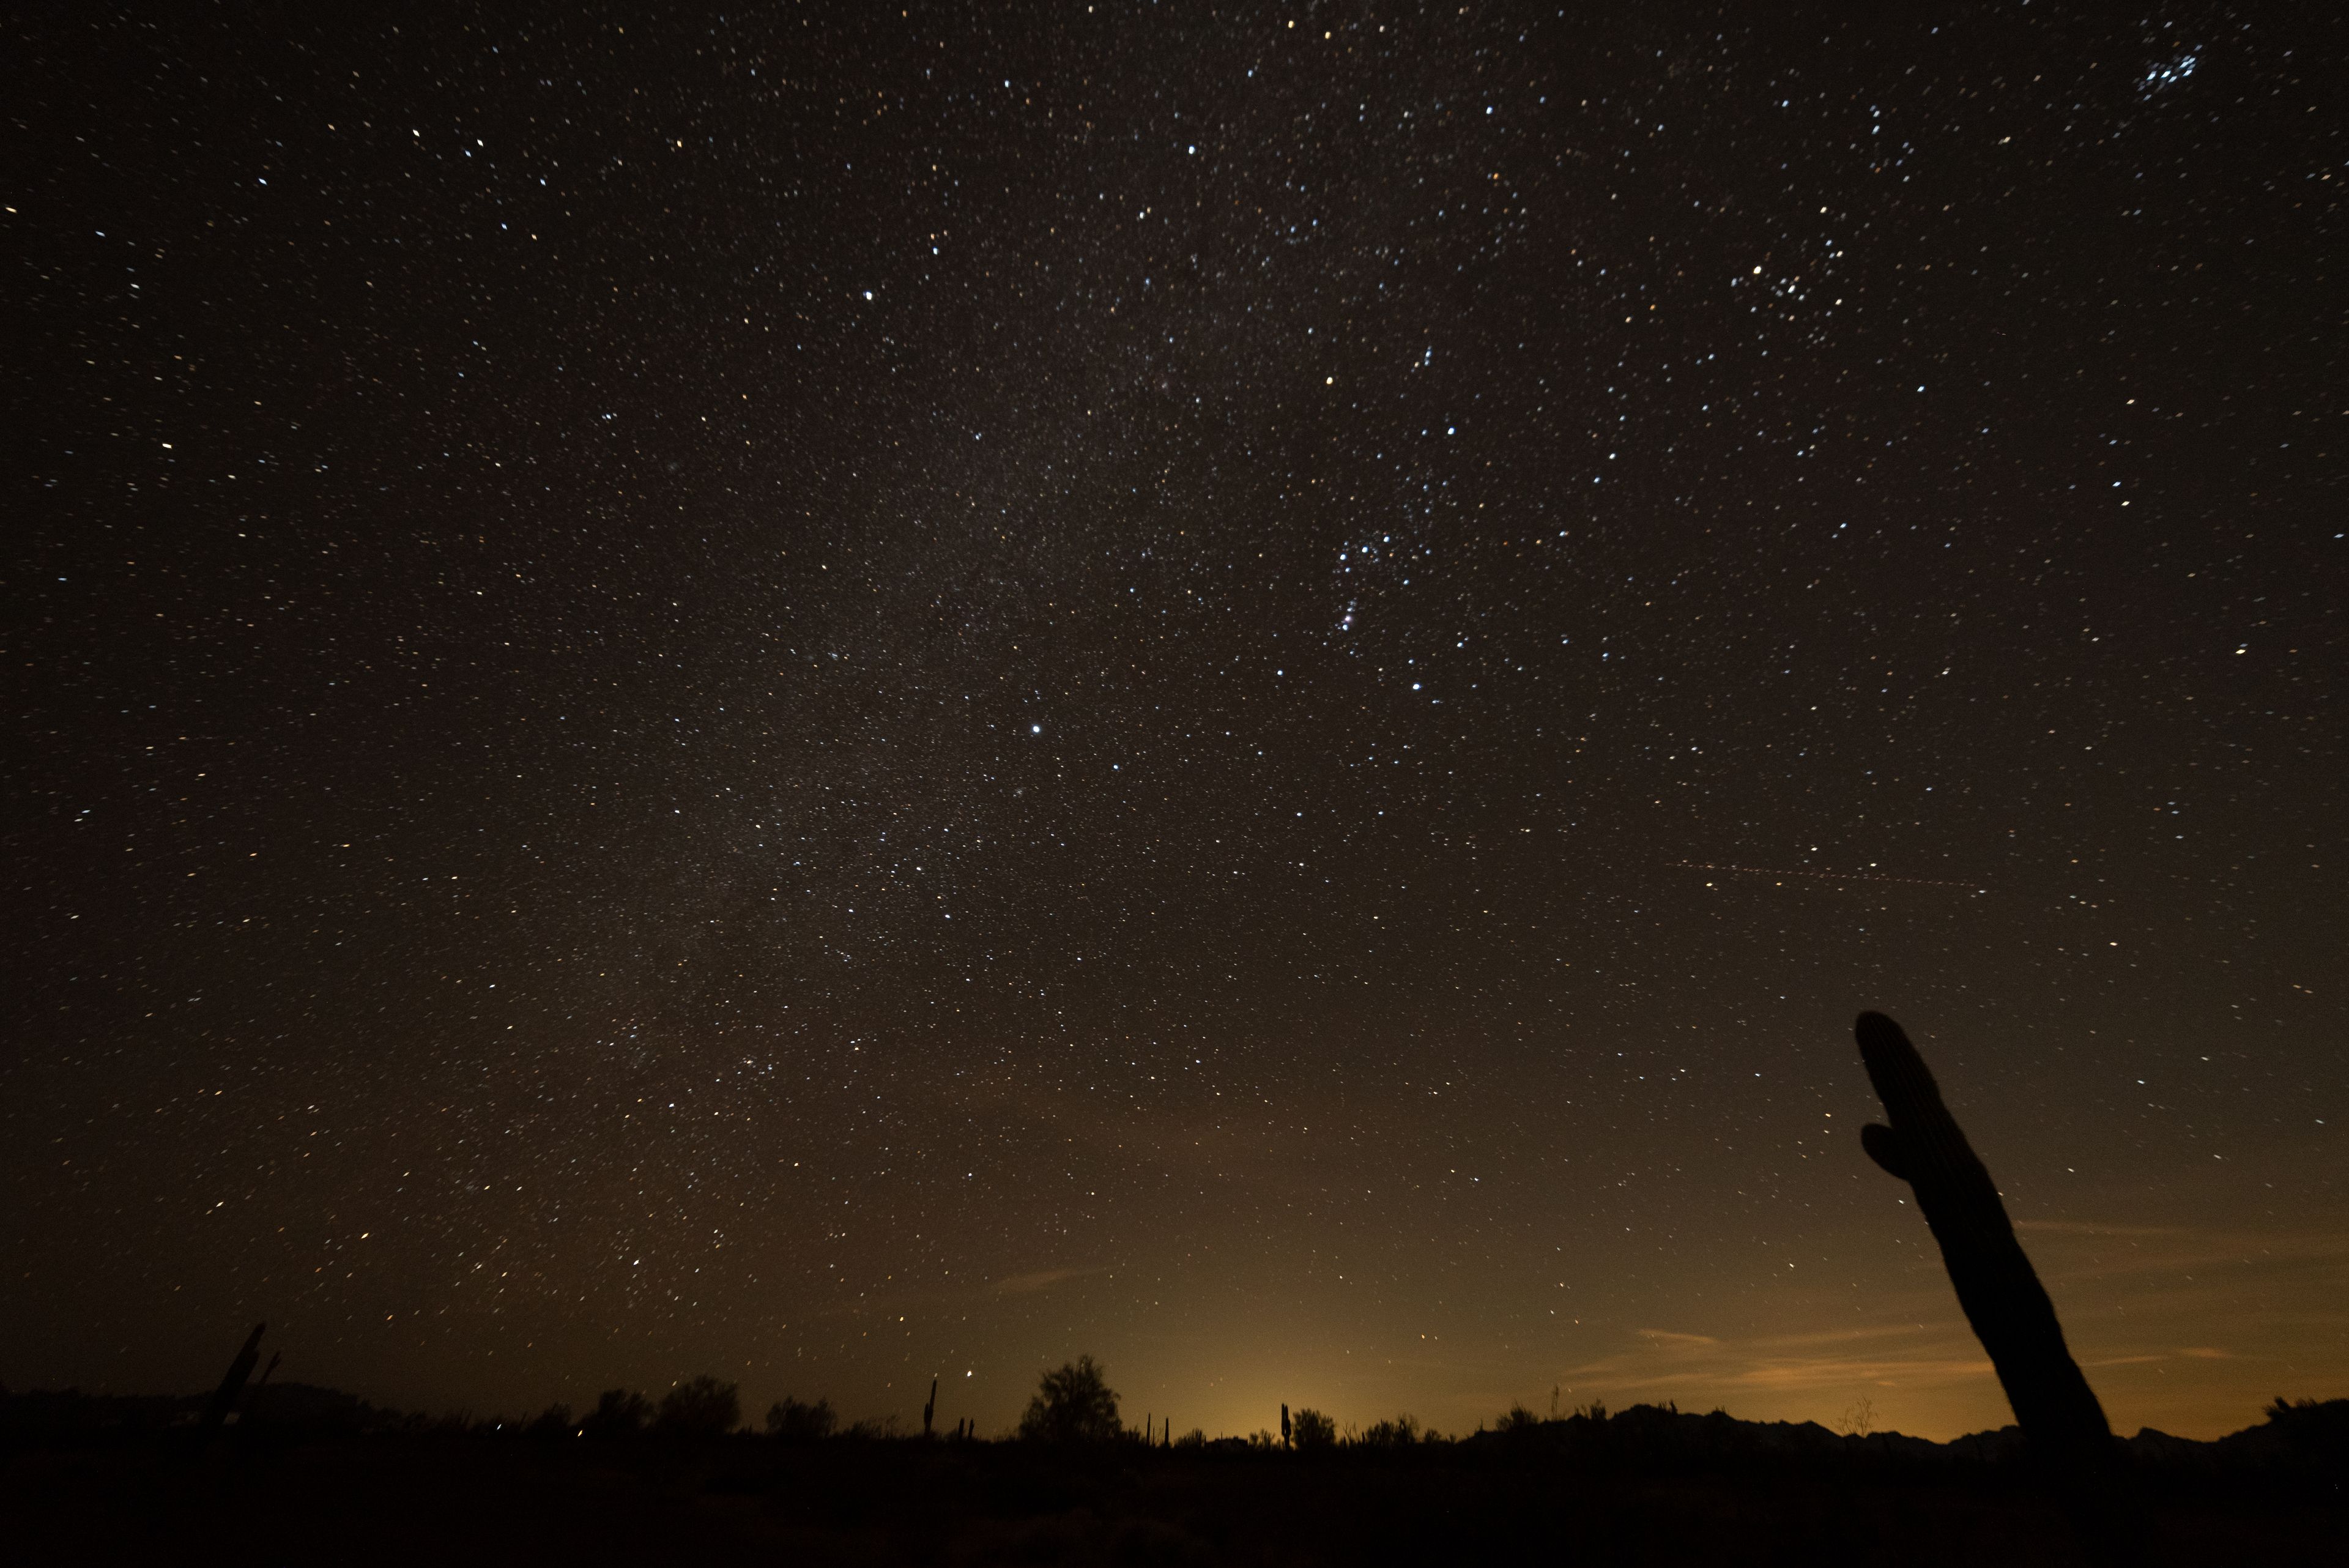
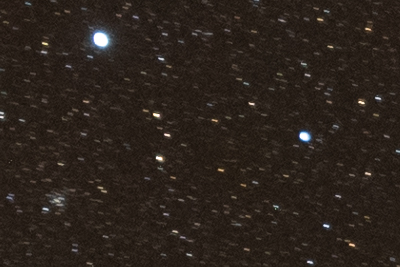
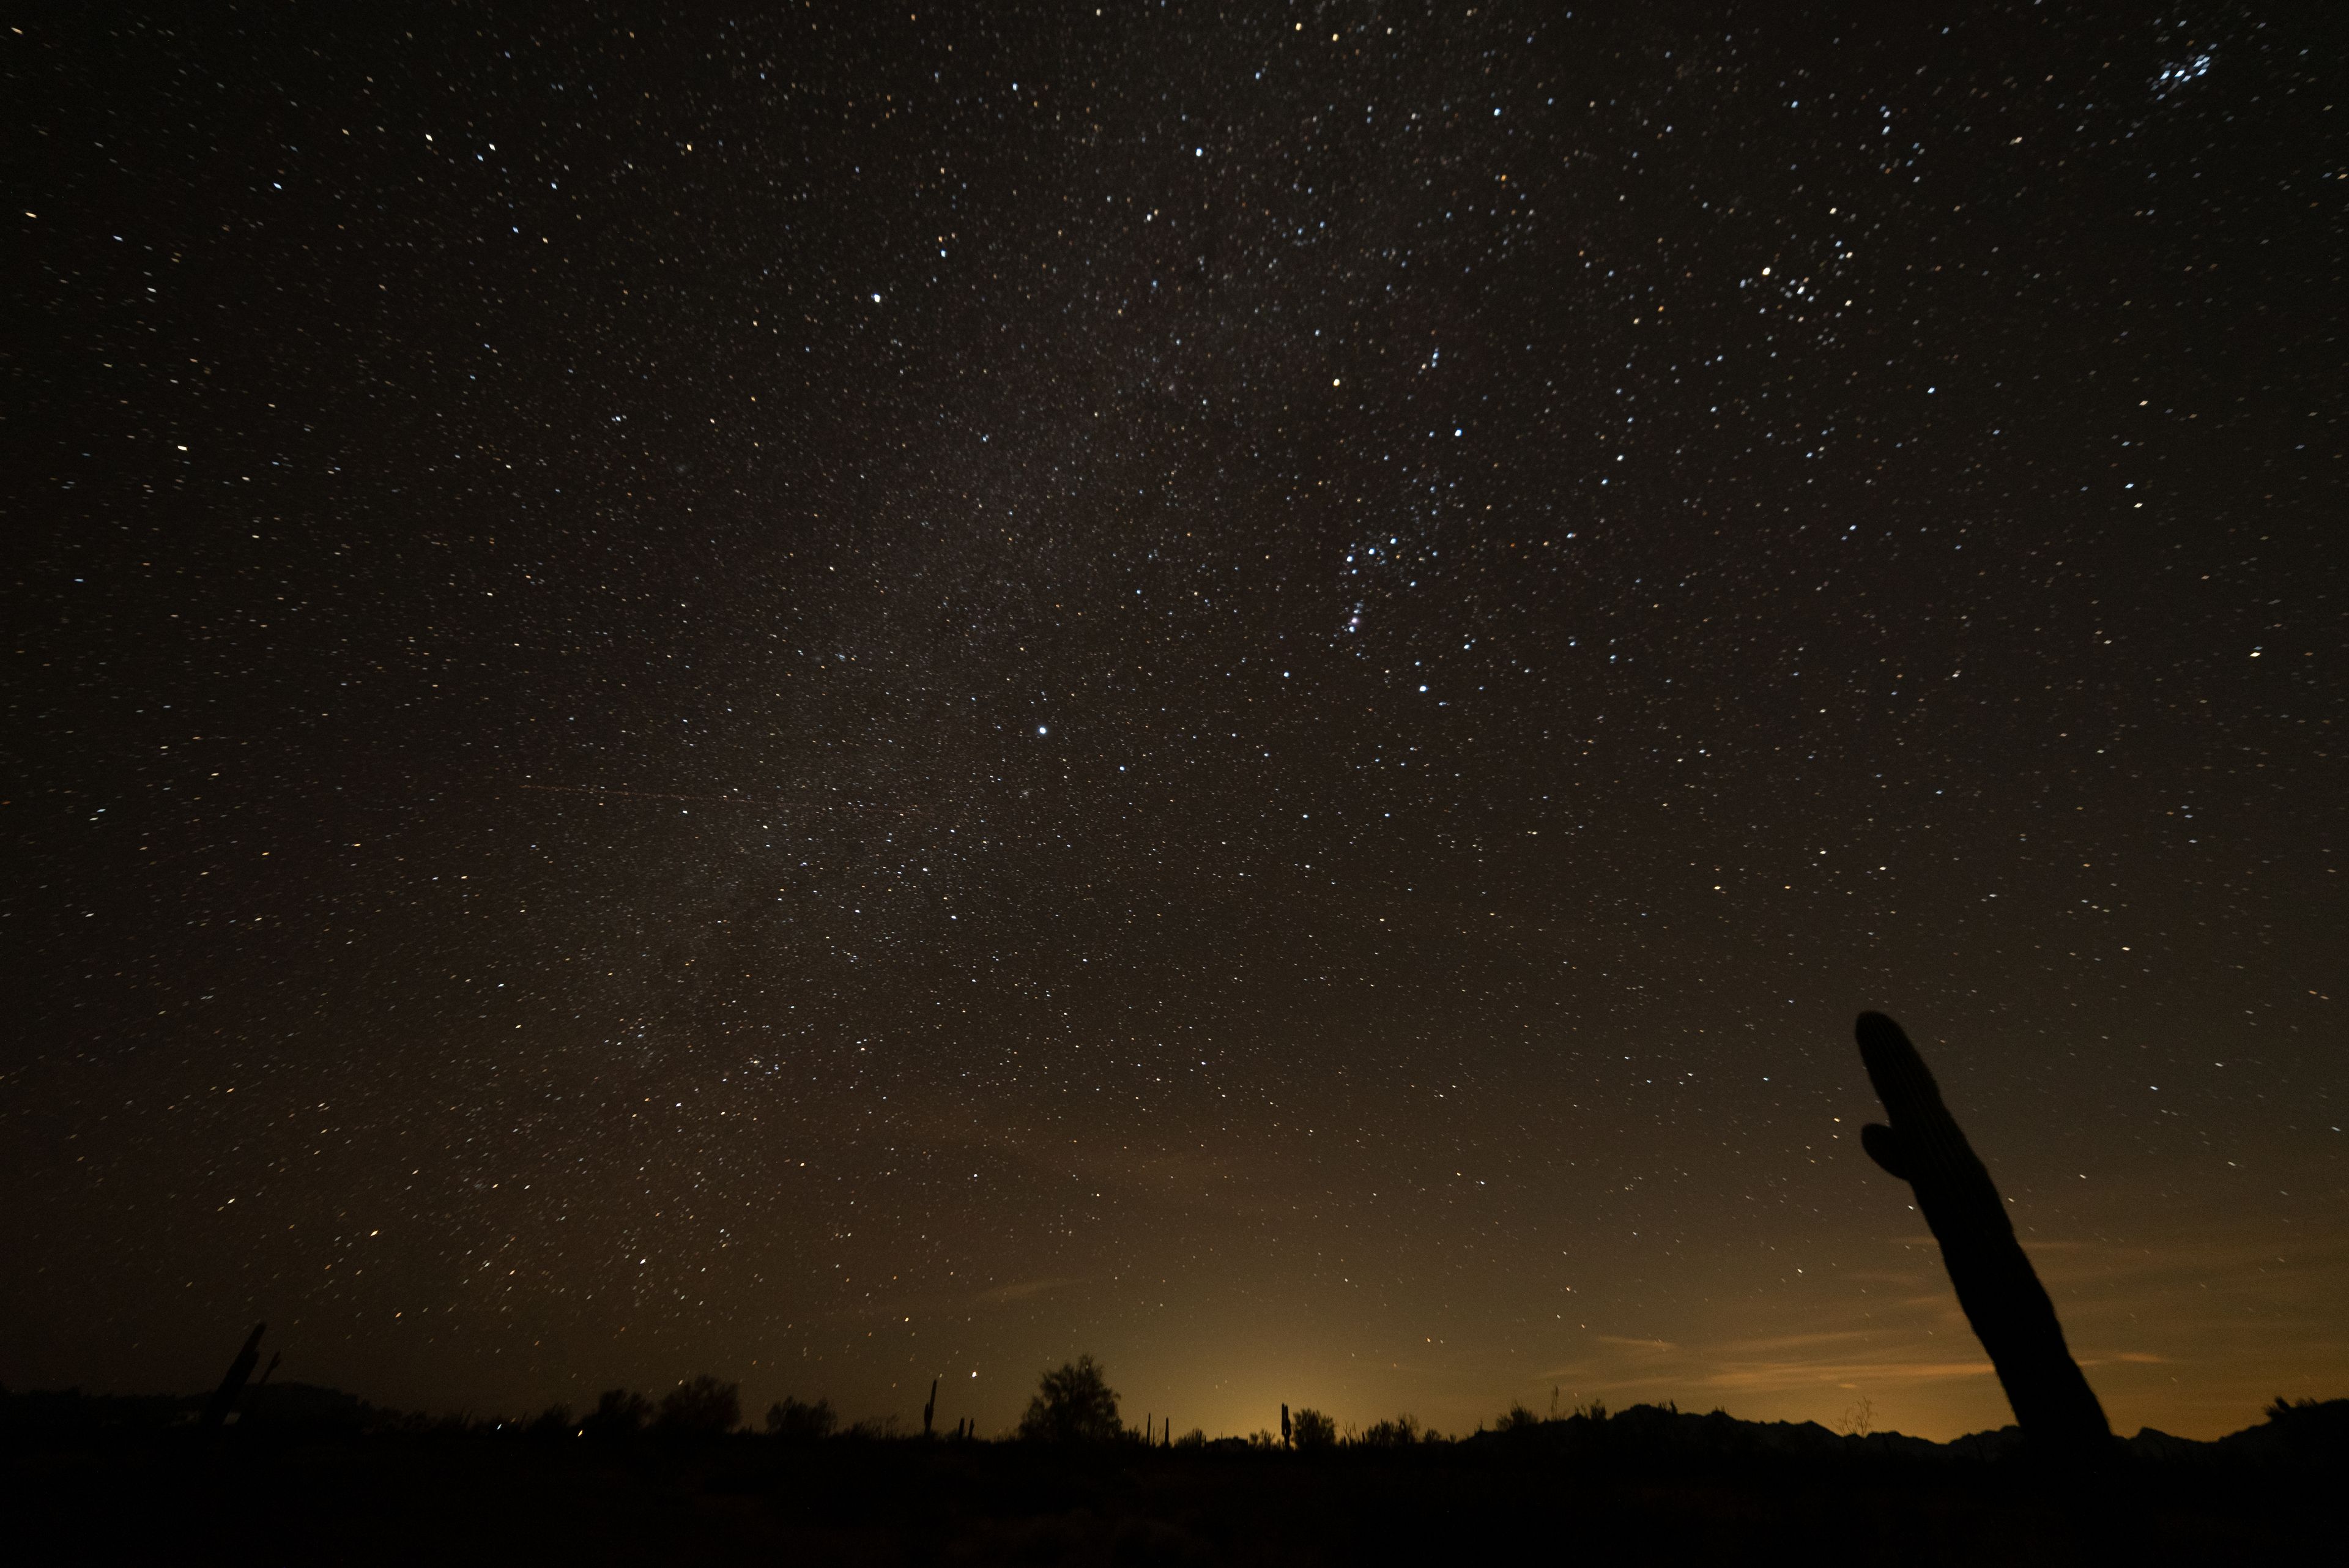
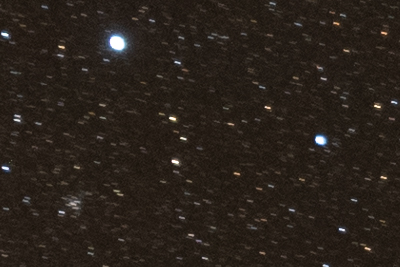
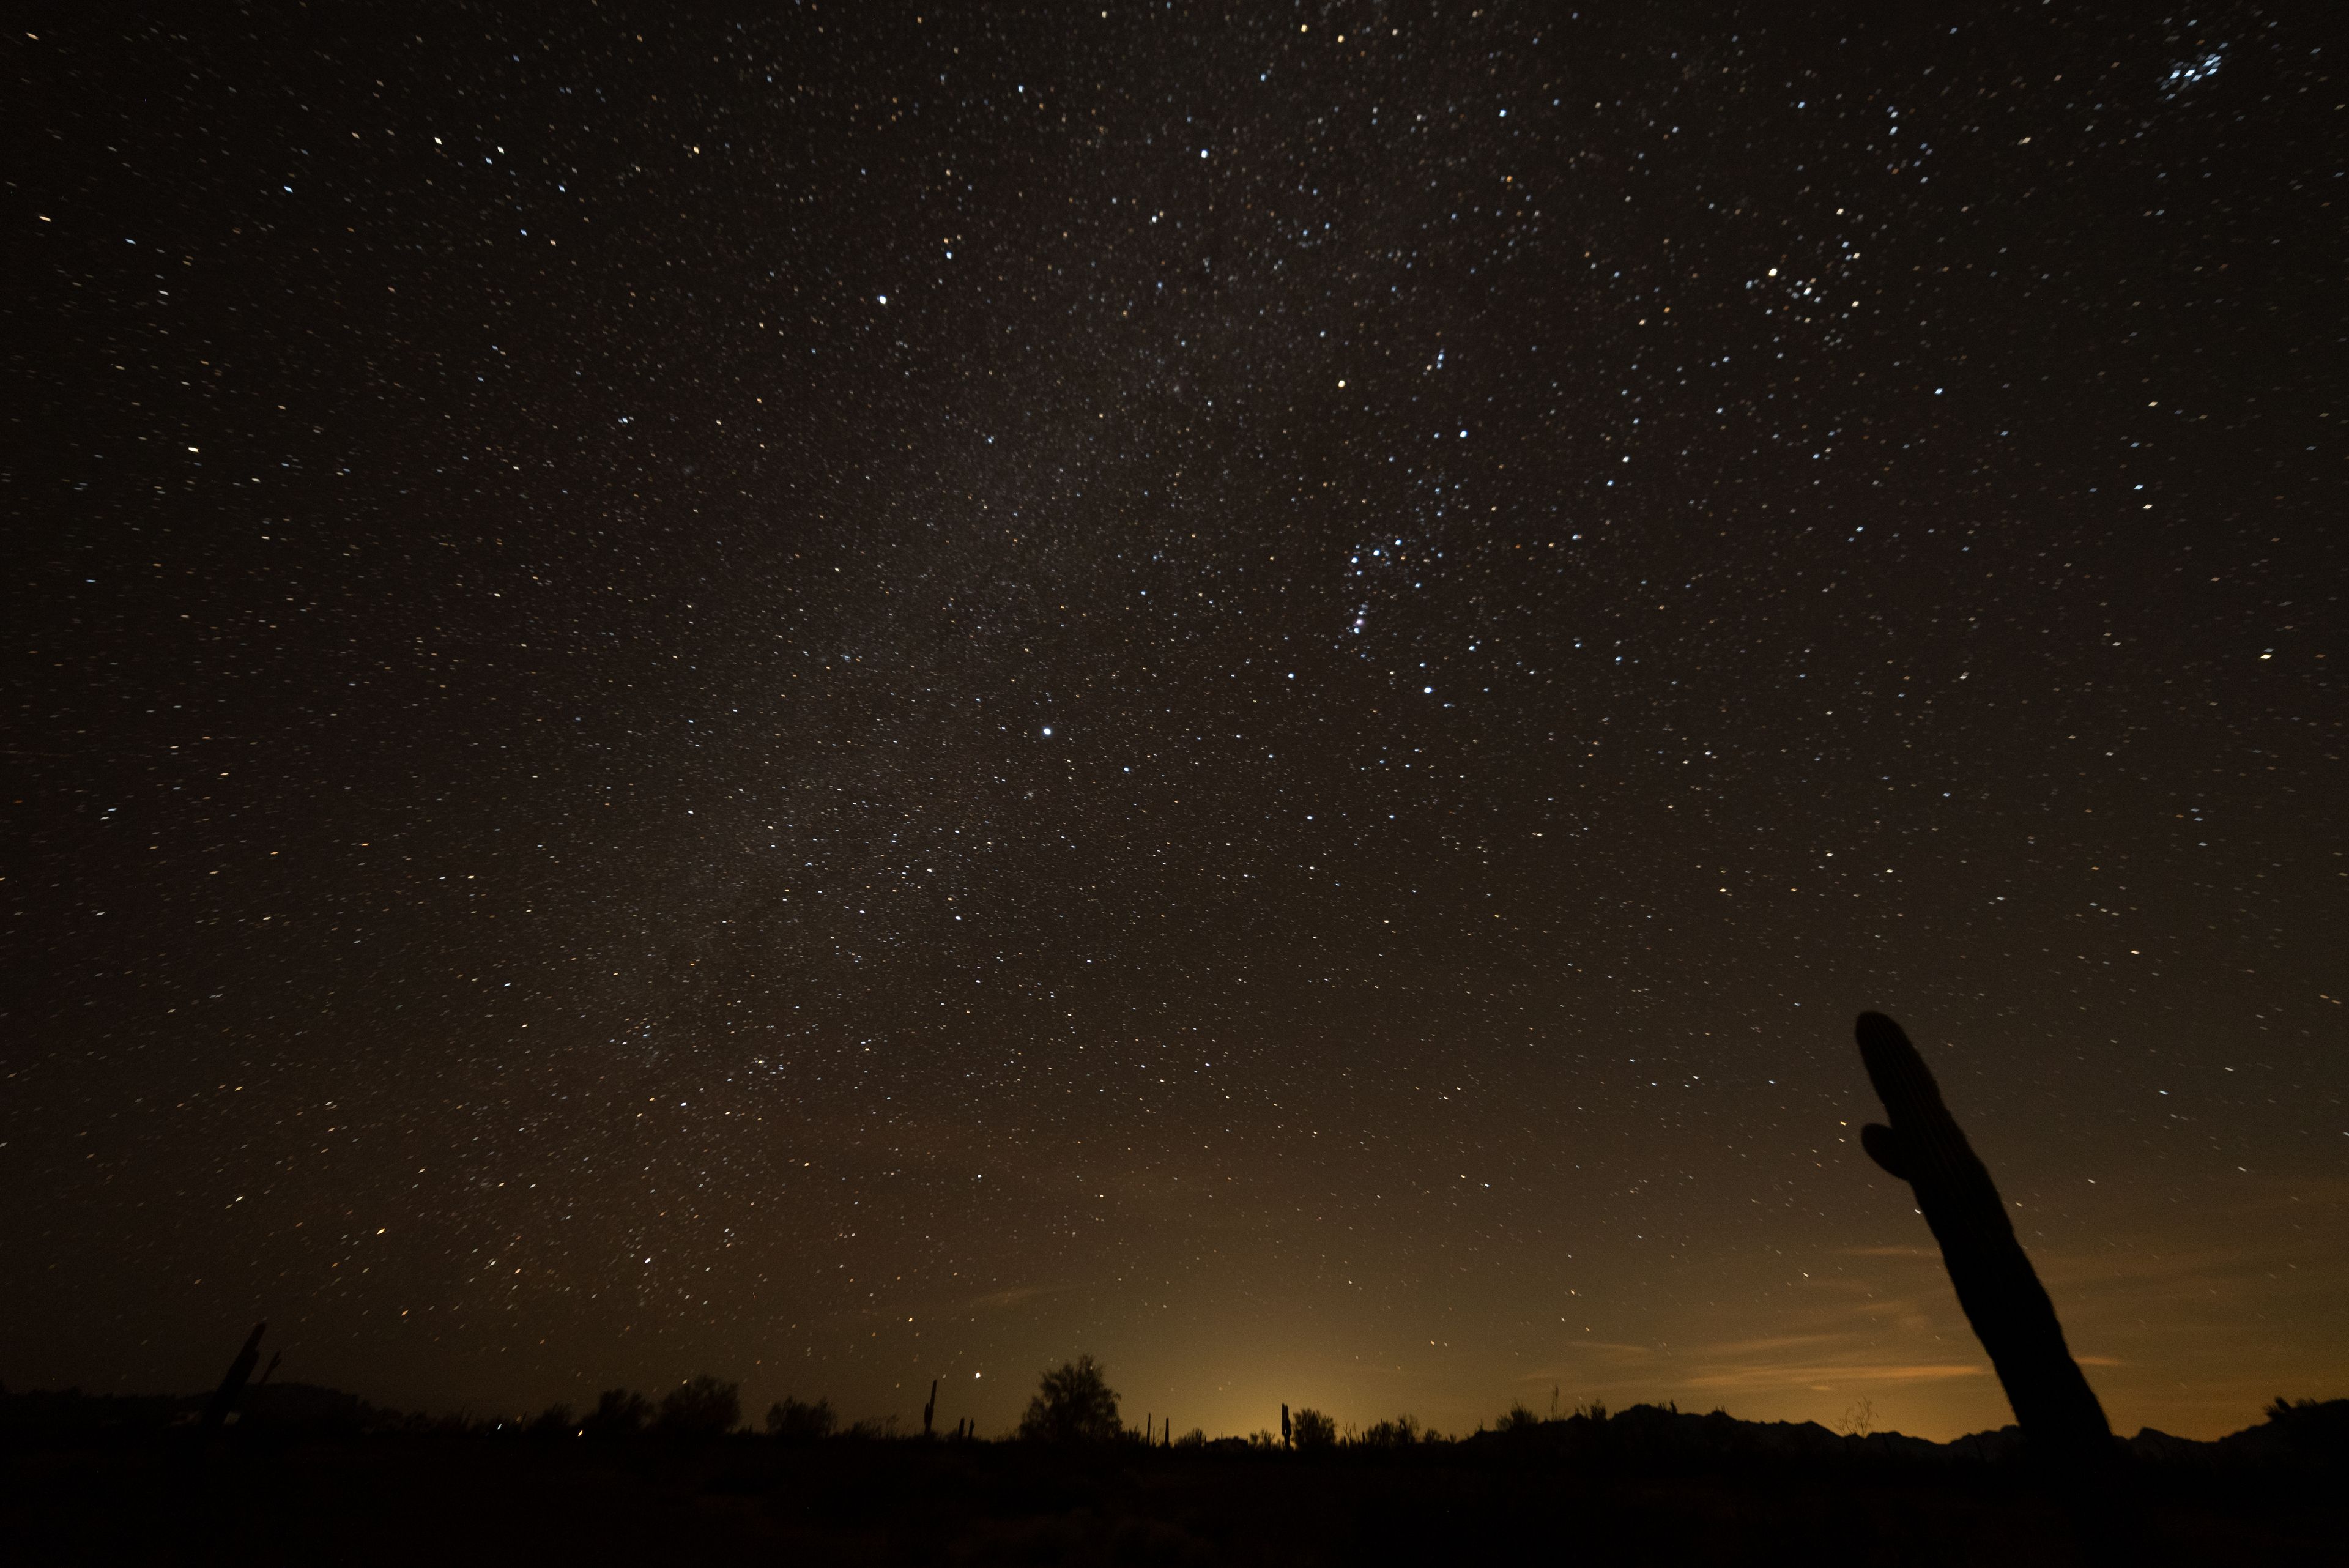
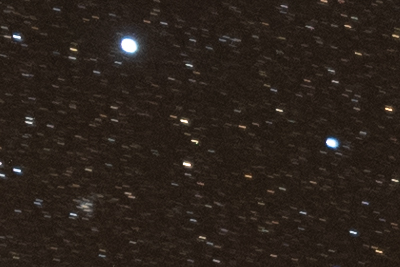
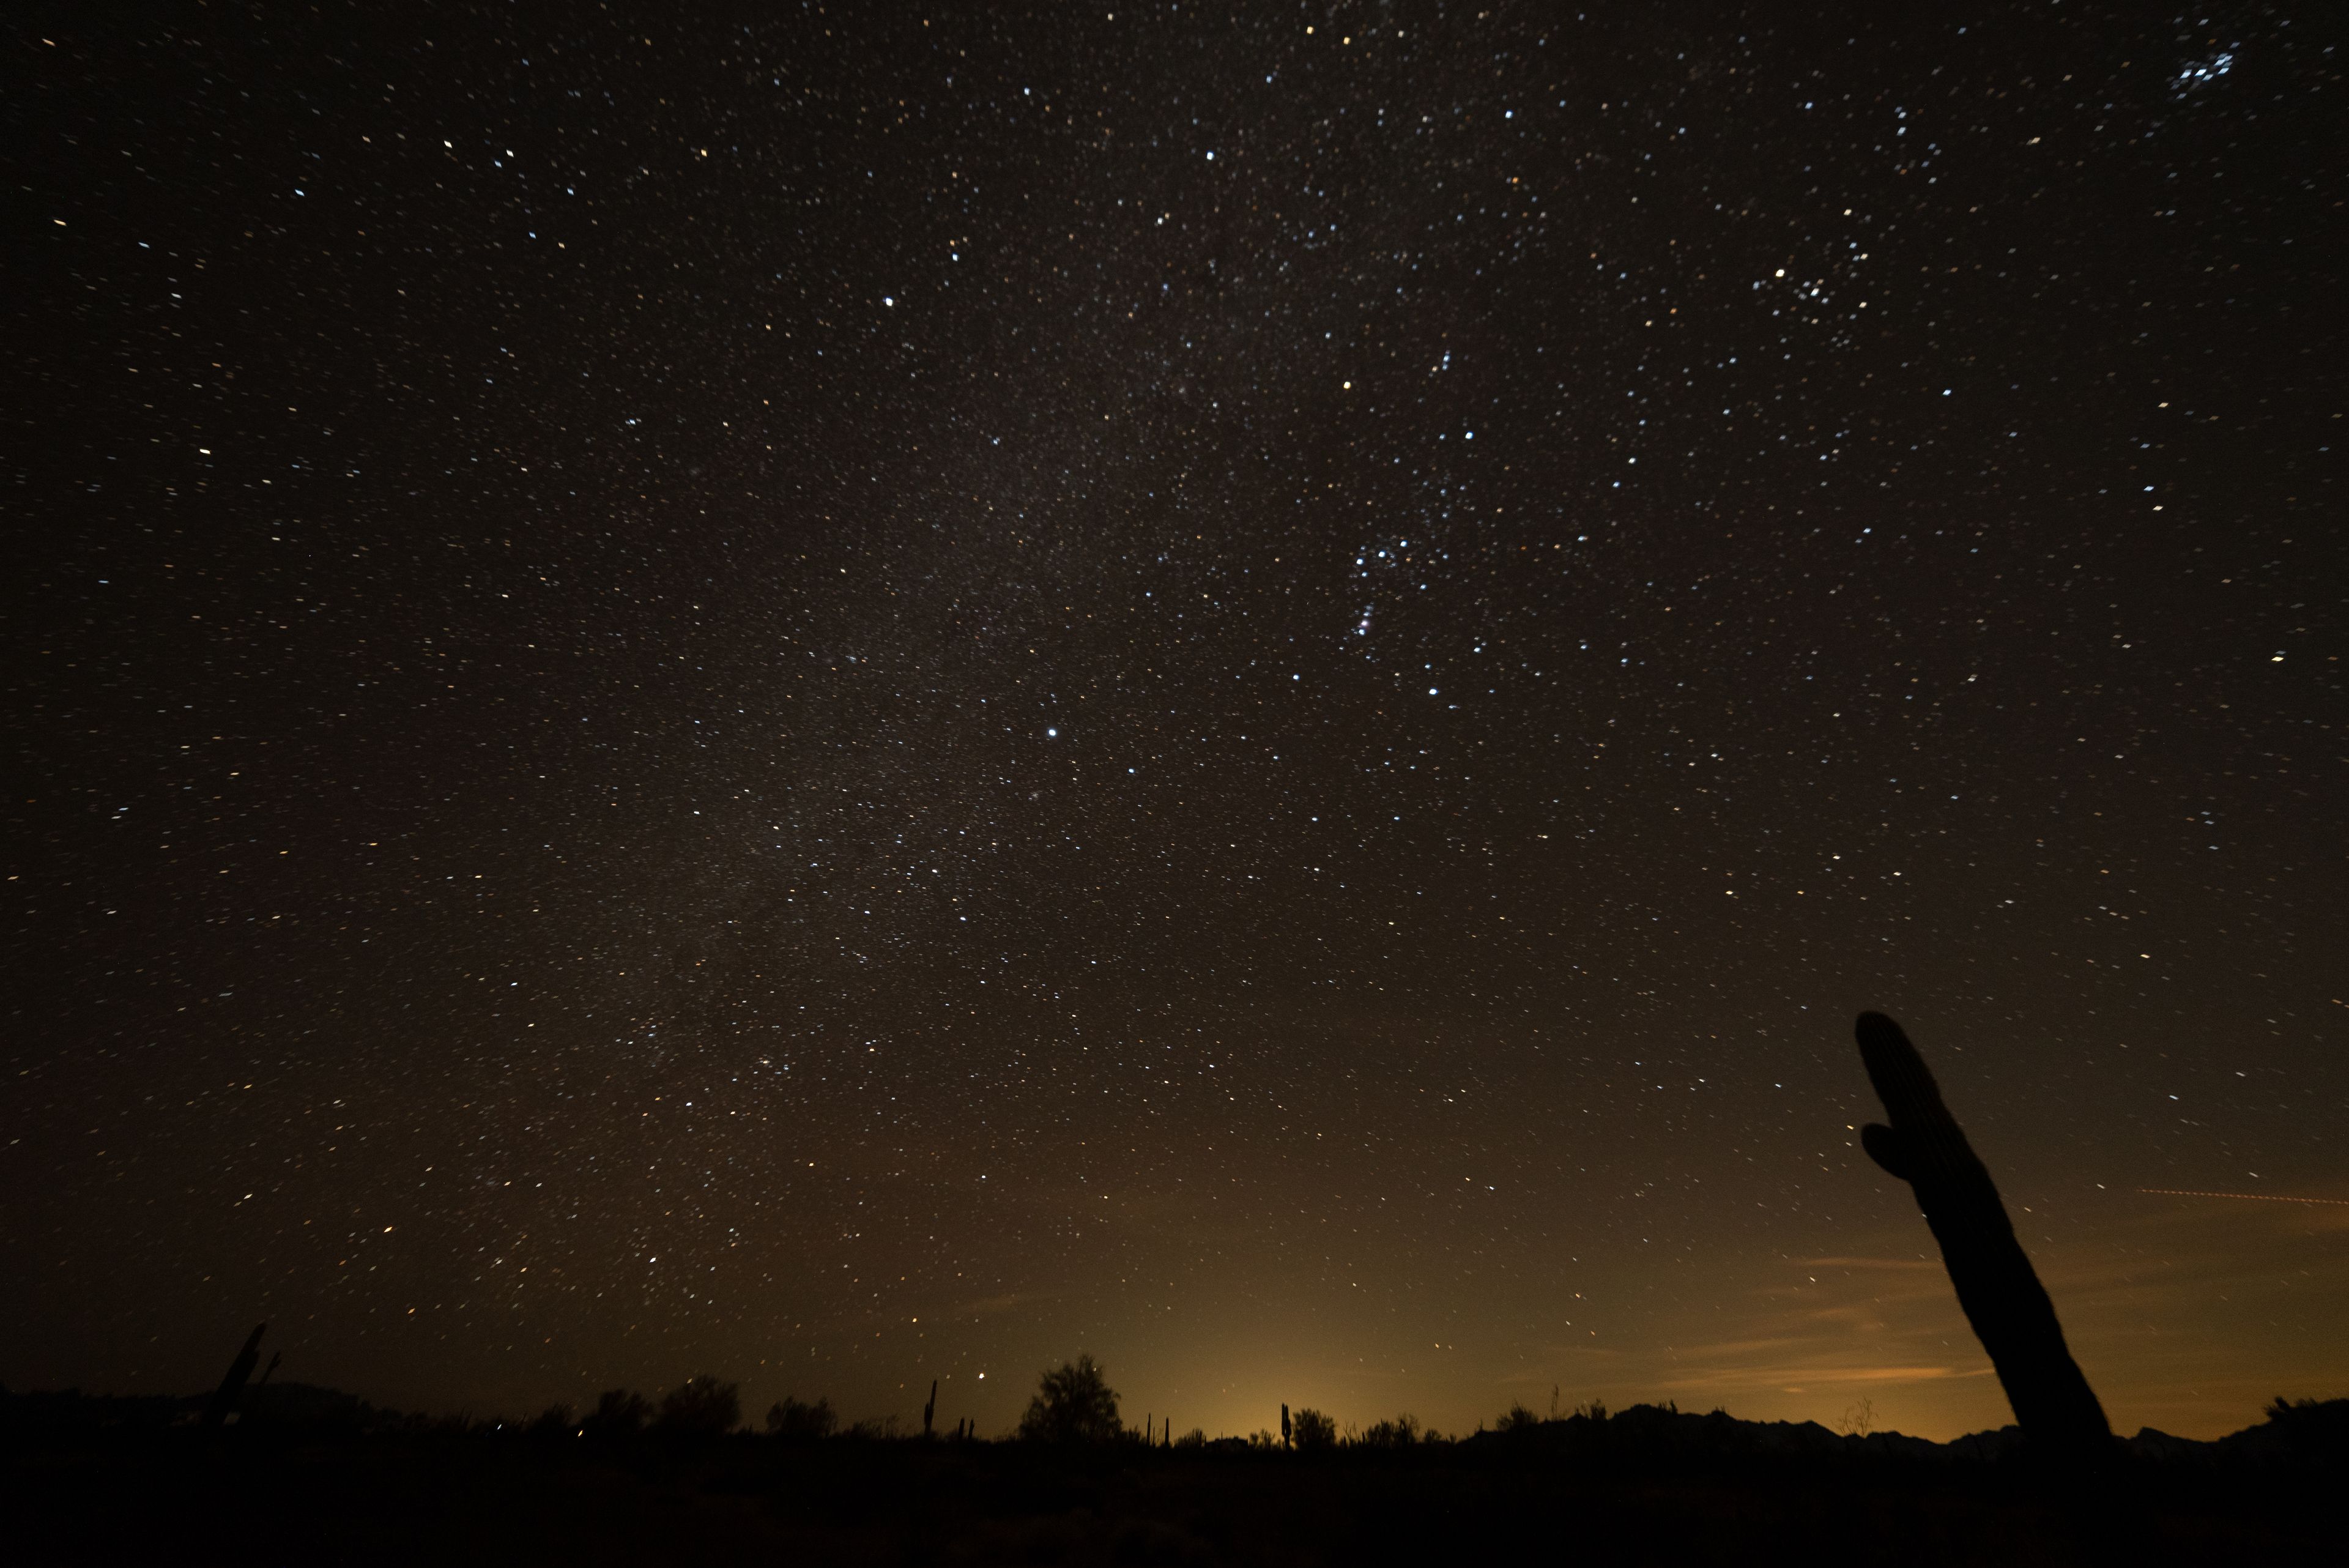
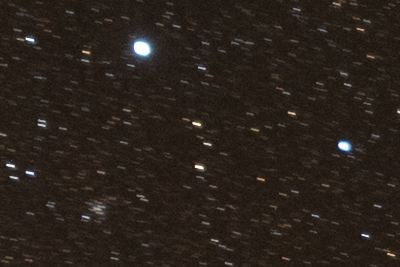
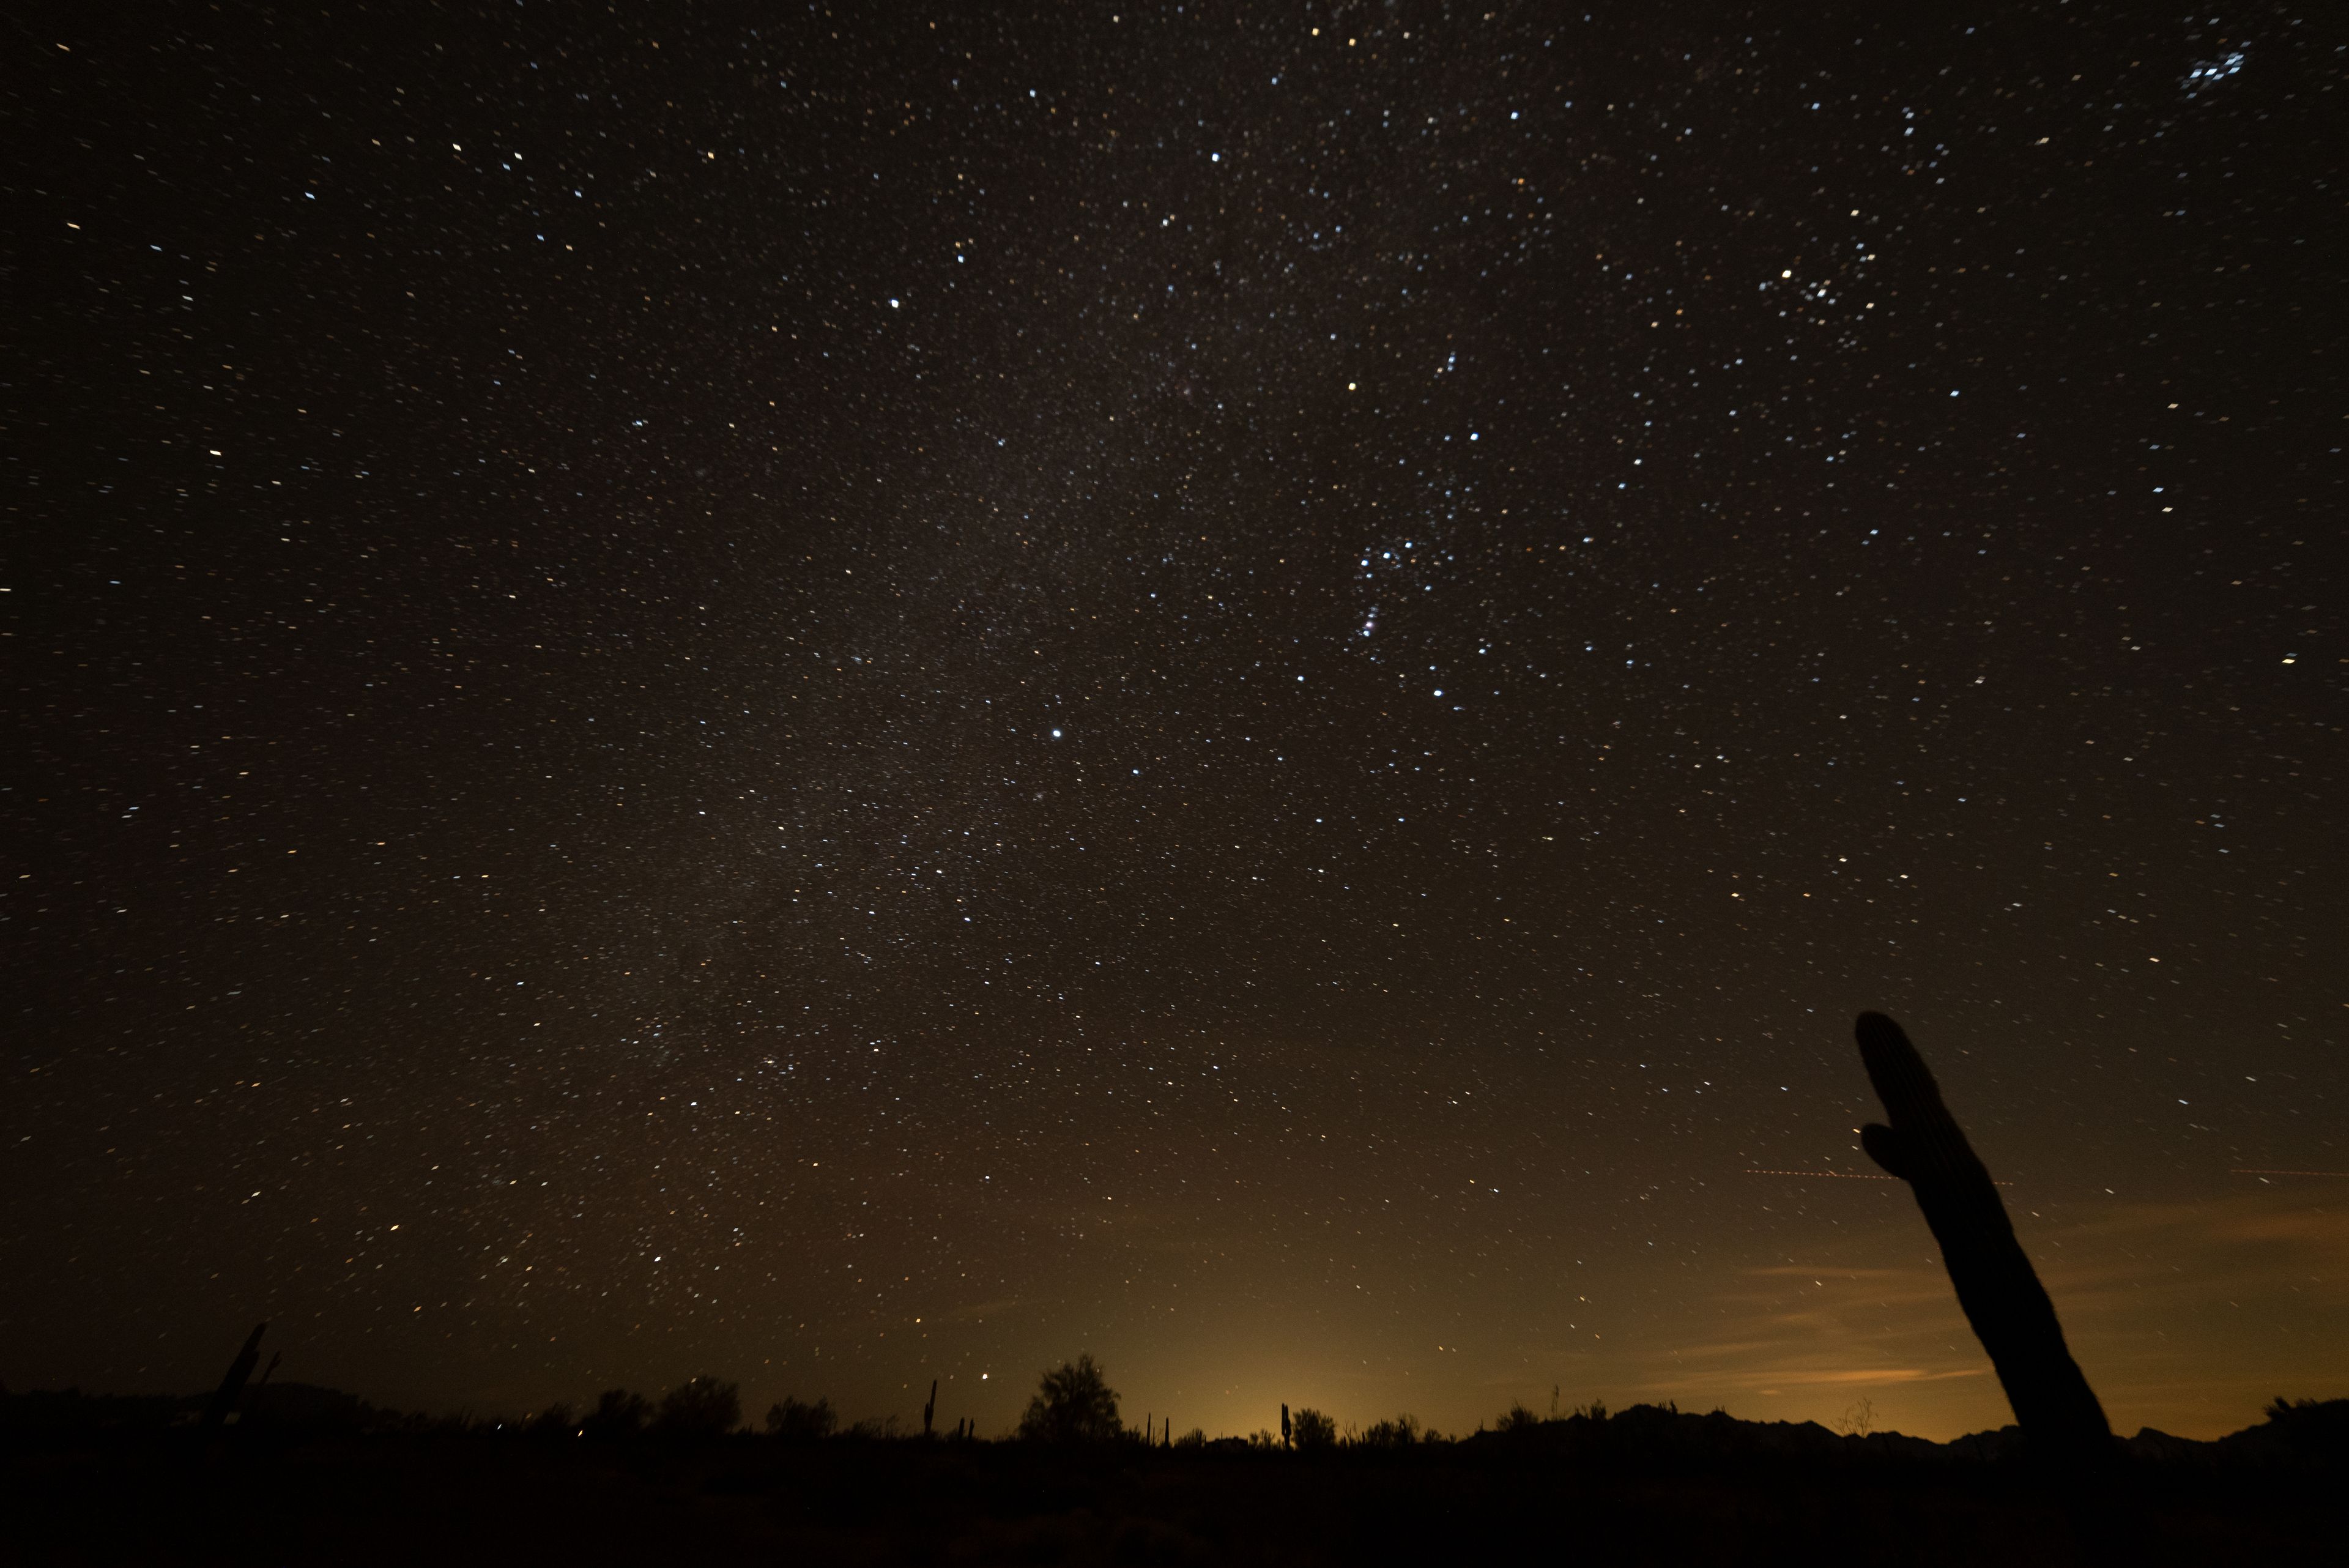
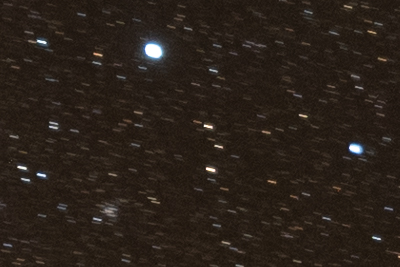
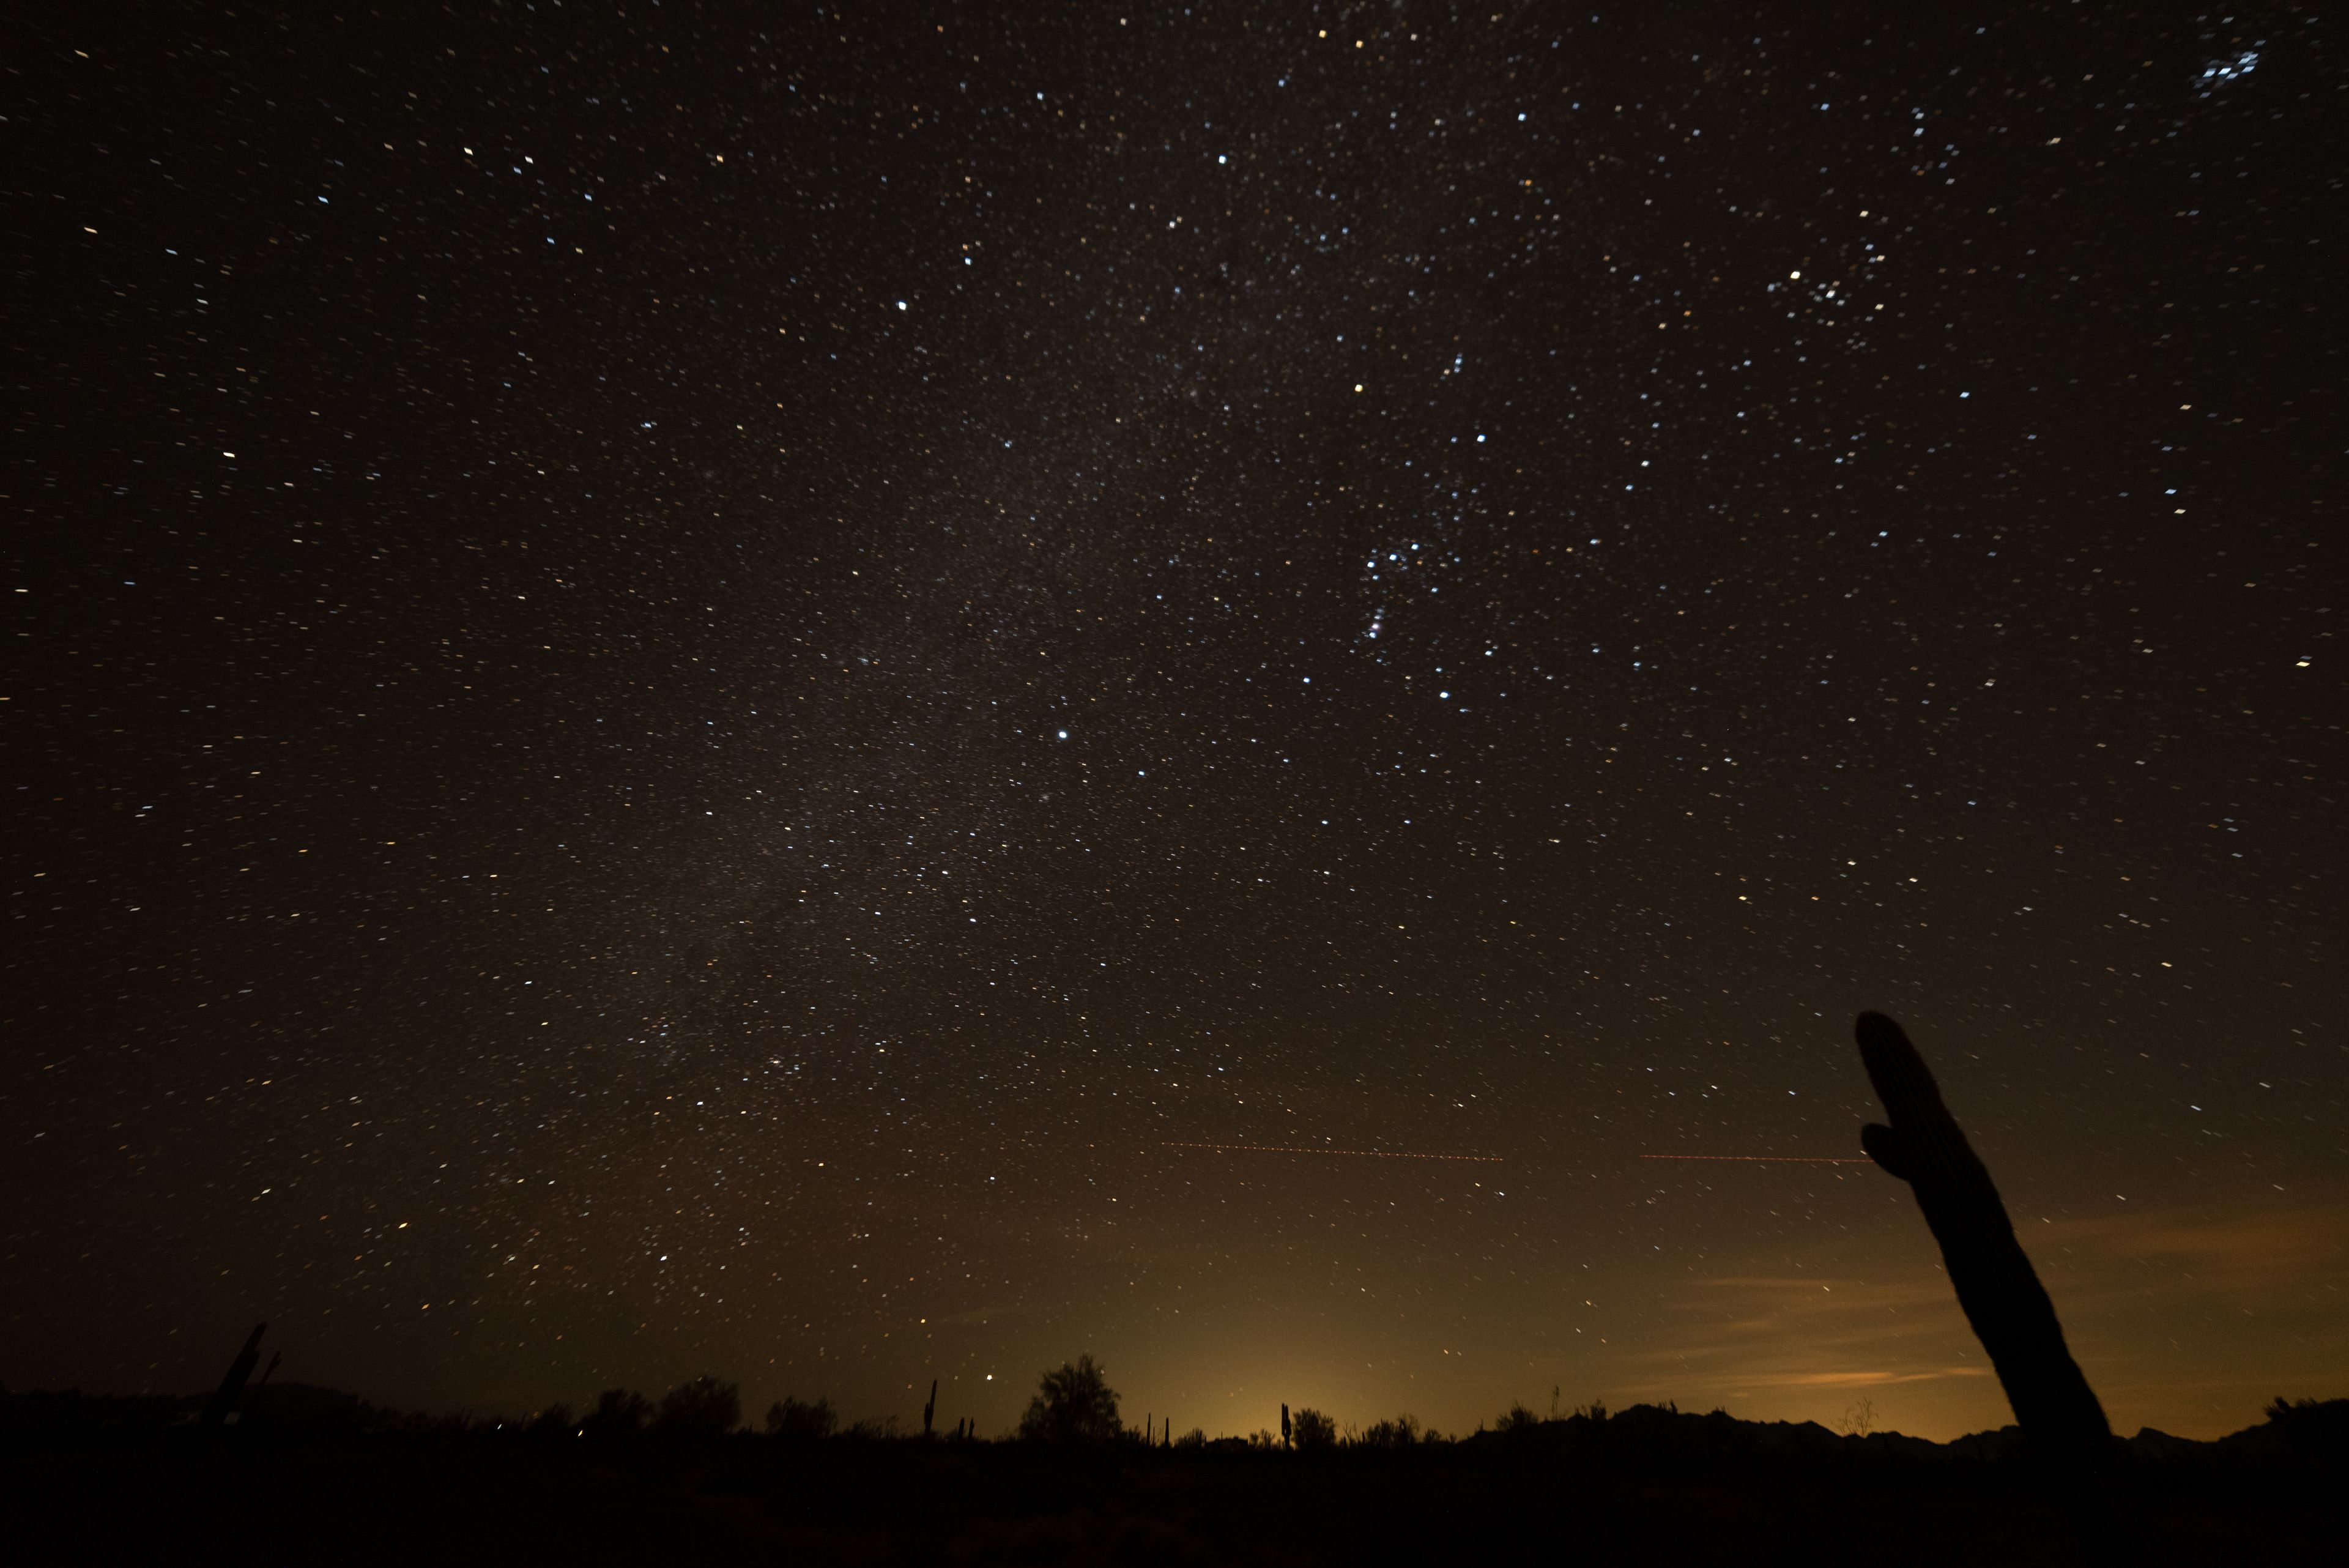
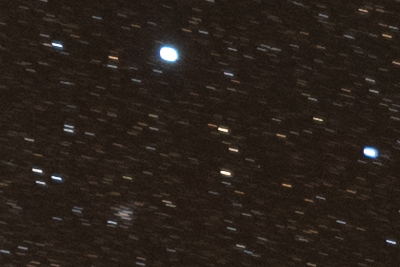
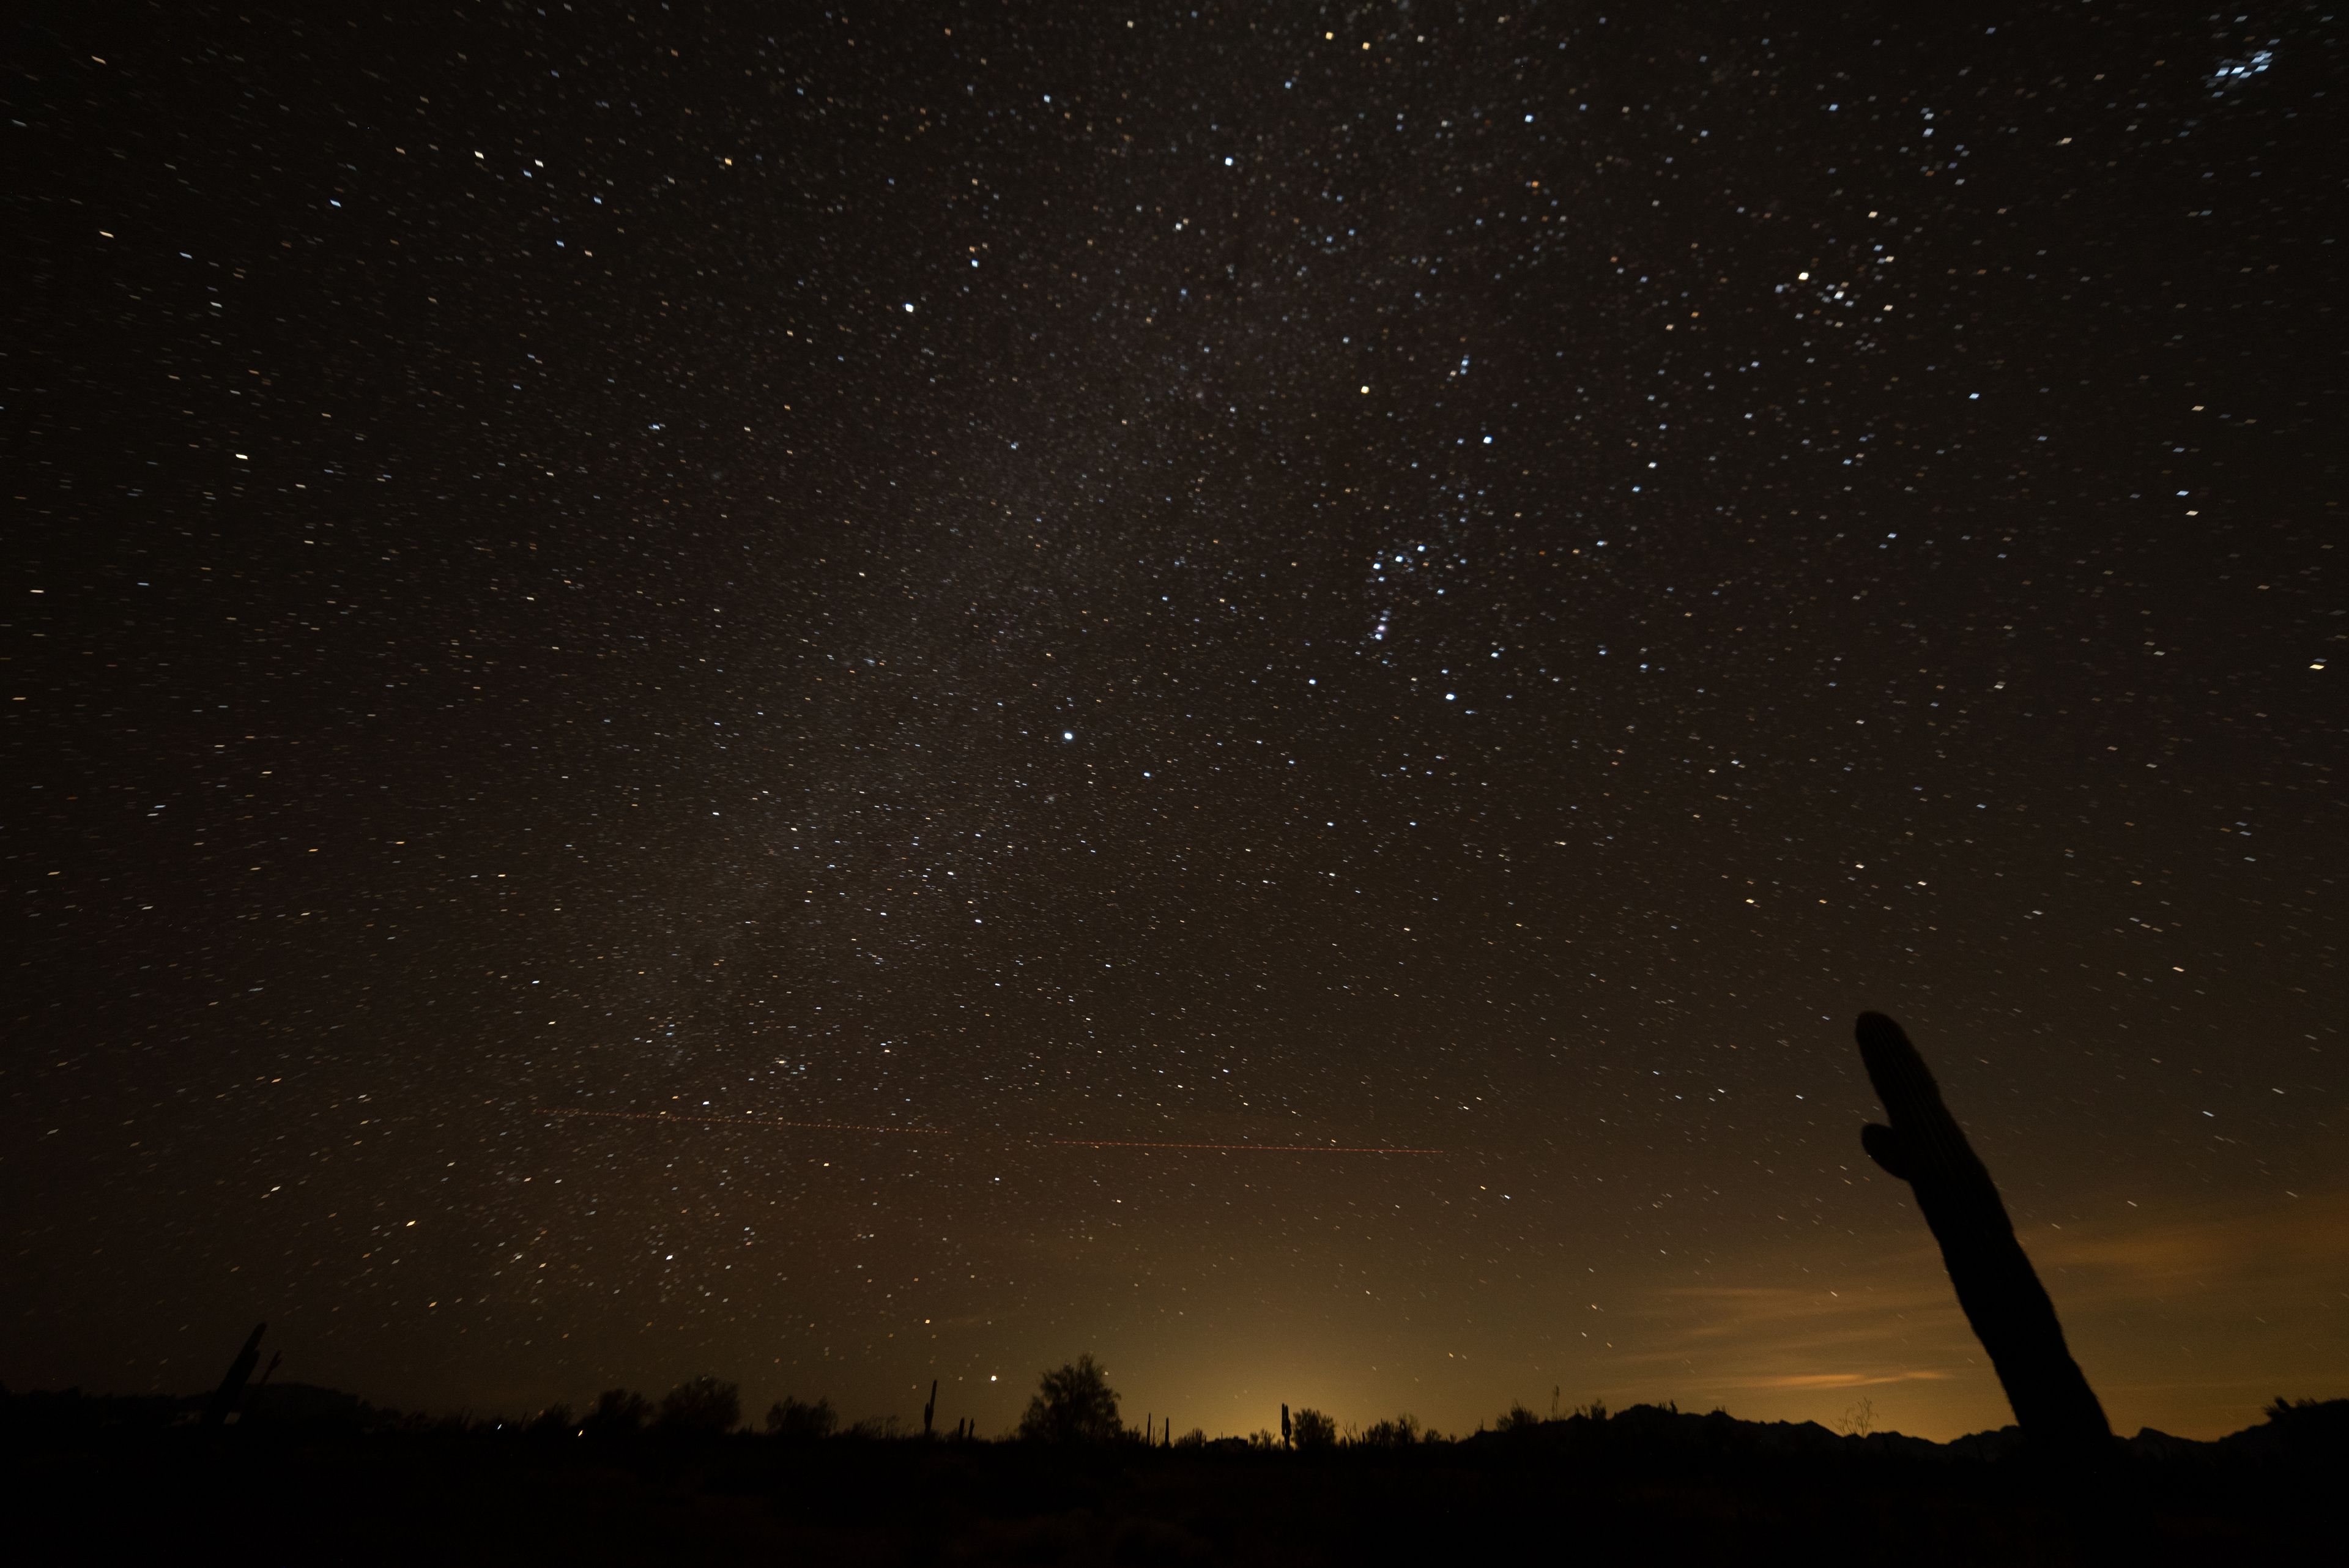
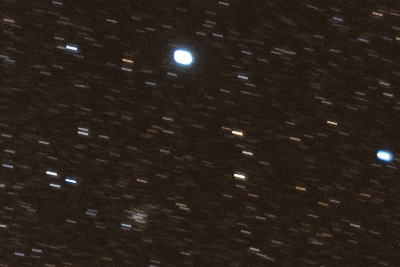
You may have noticed that the brightest star is, in fact, the brightest star, Sirius. This of course means we are looking toward the celestial equator and the part of the sky that moves most rapidly due to the rotation of the Earth. You didn’t think I’d make it easy, did you?
How much was too much for you? I find the break point to be between 20 and 25 seconds. 20 seconds looks ok to me; 25 is too much. So you’re saying, that’s great, Rich, but how is your subjective analysis of images you took with your equipment helping me?! Short answer? It isn’t. But let’s see if we can’t put together something that might.
The Math Don’t Lie
I worked out the math to determine how far the stars will move, in pixels, for a given focal length, sensor size and exposure time.
I was careful to derive the apparent motion from Earth’s rotation based on a sidereal day. The results would be slightly different if using a solar day. Since we are concerned here about the distant stars, not the nearby one we’re orbiting, sidereal is the correct choice. The number of seconds in a sidereal day was stolen researched from the International Earth Rotation and Reference Systems Service (IERS).
The calculation yields the maximum amount of motion of any star in the sky, i.e., a star along the celestial equator. Stars closer to the celestial poles will appear to move more slowly. However…
If your target is the core of the Milky Way galaxy from the Northern Hemisphere, then you’ll be looking mostly at the celestial equator. The max is the number you want in that case, so we can keep it simple.
I rolled my findings into a calculator you can use to try different exposures, lenses, sensors and resolutions. It’s prepopulated with the particulars of the camera that made the test images. The default exposure time is 20 seconds, my personal cutoff based on the test images…meaning about 3.5 pixels is my limit. Plug in your cutoff exposure to determine your “pixel limit.” From there you can use the calculator to find the maximum exposure for your equipment within your own personal limits. No fiddling around in the dark!
You can find this calculator on its own page for easy bookmarking!